We’ve built the bases (PART 1), and added the shelves (PART 2) in the last two posts, and now it’s time to finish off these built in shelves and pull it all together. Ready to see the finished built-ins?? Read on!
Everything is built, trimmed out and ready for paint! It’s amazing what paint will to do finish it off and tie it all together!
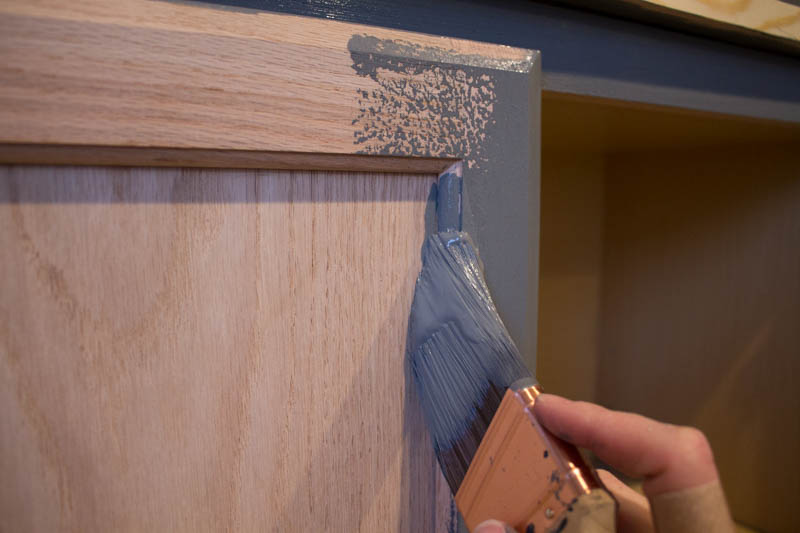
I’m using the color SW Grizzle Gray (mixed in my favorite Behr Ultra paint in satin finish). This is the same color I used in our dining room (which is the room adjoining this one) – so I love how the color flows from one room to the next!
Painting the cabinets and shelves was a little tedious, but I just put on a good podcast (or two) and knocked it out with a brush and a roller, alternating between the two depending on what part I was painting. It did take 2 coats to fully cover, with a little sanding in between with 220 grit to give everything a smooth finish.

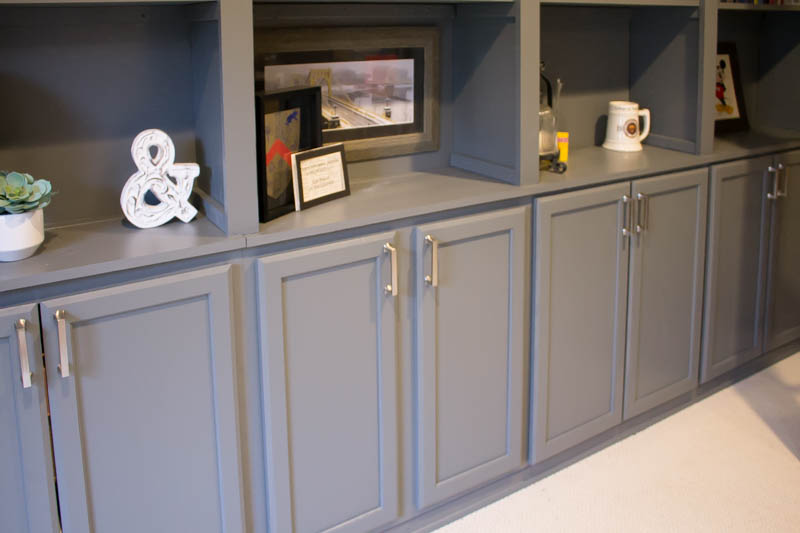
I chose basic satin nickel pulls from Home Depot for these cabinet doors. I think they finish it off nicely – simple and classic.
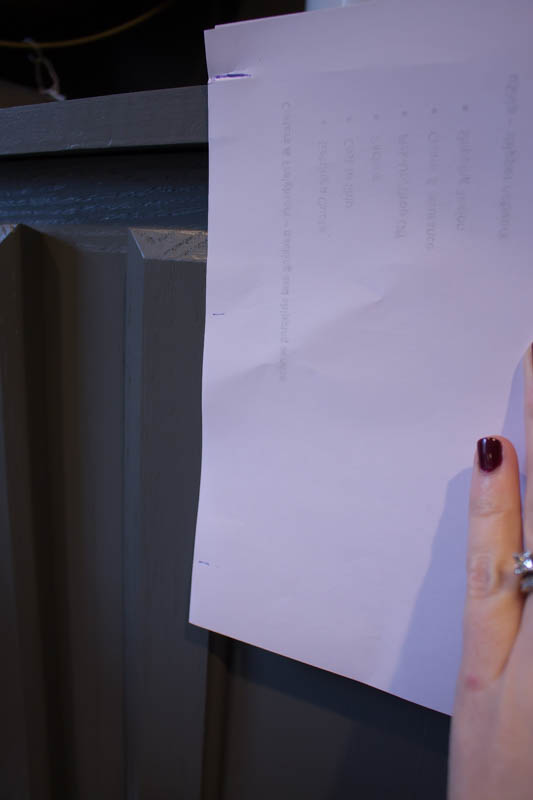
One trick: because even with brand new cabinets the doors are not always the most level, I made a “jig”with a piece of paper so the handles were at the same height across the room.
The top line lines up the the “counter top” part of the bookshelves, then I marked where the holes needed to be drilled. I made small marks on the cabinets, drilled my holes, and installed my handles. No guessing involved, and it made the process much quicker.
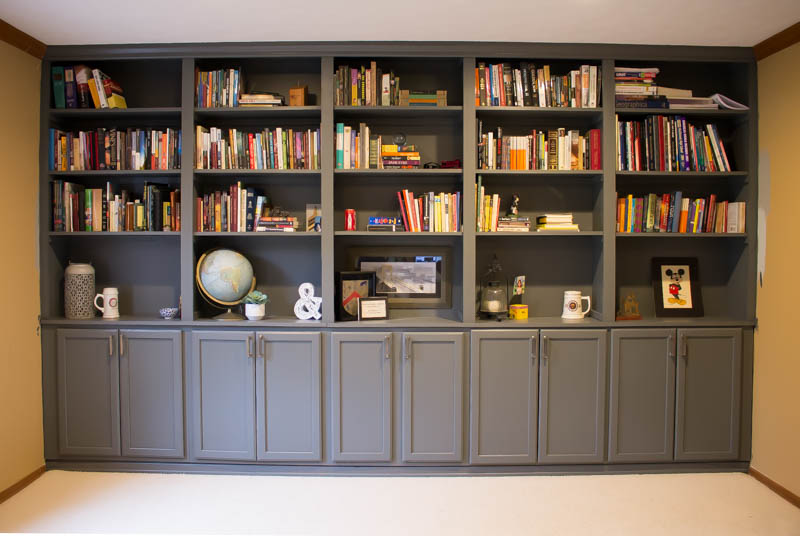
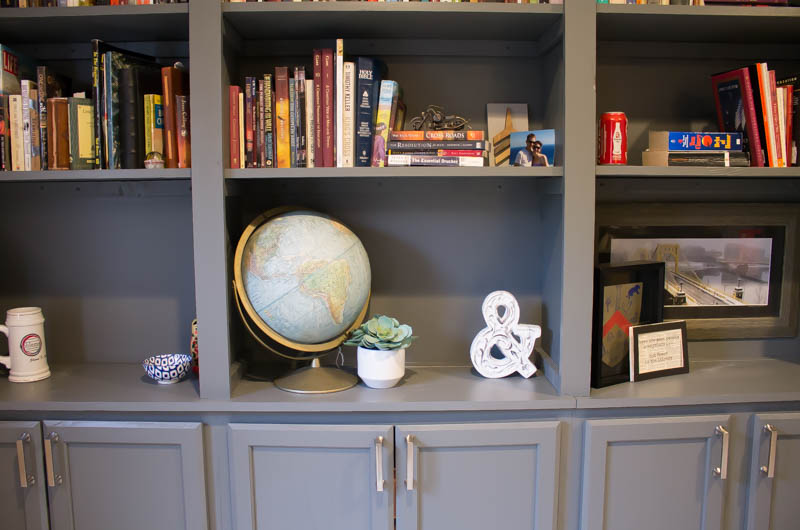
We unpacked our books and *kind of* styled the shelves. I love that the books aren’t packed in there – there’s still room to breathe (and add more books to the shelves!).
I’m so happy with the decision to make the lowest shelf high enough for decor. Not only does it make a fun space to decorate, but I think the height of the book shelves are more proportionate. It’s a better use of space than having a bunch of wall space in between shelves.
See the globe I was using for my height measurement now fits perfectly in this space!
I’ve also thought about adding library lights to the top of the shelves, but I’m not sure we really need them. Verdict is still out on that…
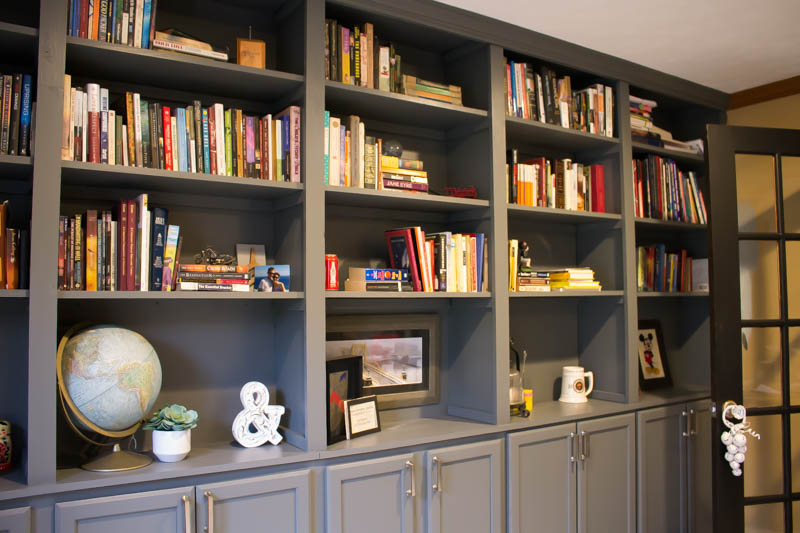
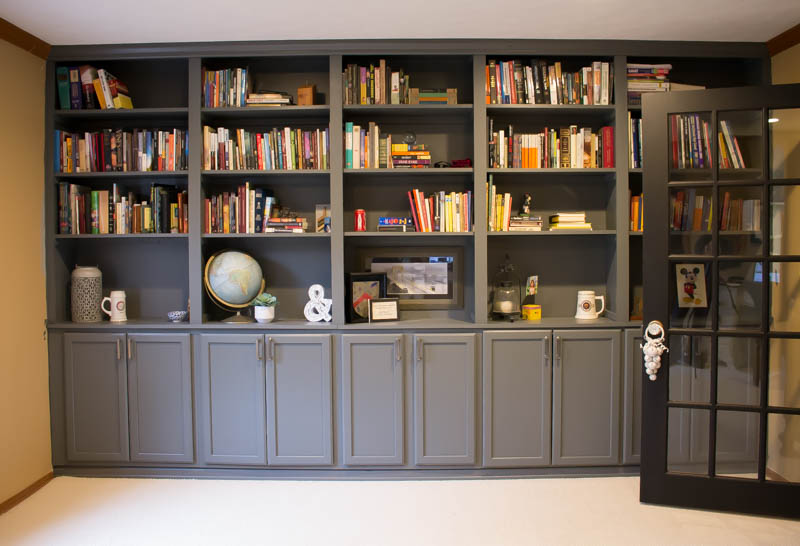
I love that this is now an interesting wall to look at! It’s a space right off the entryway, so it’s one of the first things you see when you come in. A big wall of books (makes us look smart right?? hehe.) I’ve also gotten the comment from several people that you’d never know we built it – it looks like it was always just a part of the house! That’s a compliment for sure. It didn’t take up much floor space, but adds a ton of storage and character to our home! And since we did it ourselves, we save a ton of money!
Look at how sharp those black french doors look in this space too! You can see the whole painting process for the doors here.
The trim will be white in this room and the walls a warm medium gray (a lighter version of SW Dorian Gray). That painting project is next on the list!
But for now let’s just enjoy the finished shelves 😉 My husband’s desk will float in this space in front of the shelves, so he’ll have desk storage as well as all those cupboards behind him.
See?? Building built in shelves isn’t that hard. Have a place you are dreaming of some??
Until next time,
Jenni


Wow, what a great project. I’m curious what was the cost of this project? If I were to do it how much would I need to budget?
Thanks
Great question! I think for my full wall (155" w) it was about $800-1000 all in.
Okay, I’ve got one "built-in" under my belt. It’s a french "apothecary" built into the wall over my slipper tub. (Too bad I can’t attach a photo).
The next on is a corner unit/hutch, that will have a mini-fridge in the lower cabinet, a coffee maker and small microwave, and open shelves to display my tea cup collection that I downsized from over 50 to less than 10. (I used to be a wedding planner, and many brides gave them as "thank-you" gifts. I want to use a lot of the lumber we removed from the living room built-in TV area and bookshelves with desk that was in the "fixer-upper" portion of our home. I think I need to start with a pedestal at the bottom…but I may have to design on the fly. I bought a hutch "top" from the thrift shop for $5.00 to use the arch detail…
Any suggestions, from your experience or where to go for free plans, just so I can see the bare bones of the structure/skeleton?
Sounds like a great plan!! I would search http://www.ana-white.com/ she has some great FREE plans that may help get you started!!
Very helpful! Thanks for sharing. I am going to do this in our basement. We also have carpeted floor. I’m wondering how you fixed the carpet to tighten it after cutting it? Thanks!
We actually didn’t do anything to the carpet. We will eventually be replacing this floor so we just left it as is. Sorry that’s not too helpful….
I want to repaint my bedroom furniture grey. I want to use chalk paint, can you help me out.
This would be one of my best resources for you, http://www.rootsandwingsfurniture.com/furniture101ebook
I love this and plan to use your exact tutorial to make this happen in our front room! My wall happens to be 155" as well, but I’m wondering what your ceiling height is. Thanks for sharing!
Oh awesome! You will love it. I believe the ceiling height in this room is 8ft high!
This is awesome!!!
Thank you!
I’ve drawn up the plans to make this but but with a big change. I’m putting a desk in the middle. In doing that, how would you recommend finishing the side since it’ll now be visible?
Yes, I did that in our last house. https://rootsandwingsfurniture.com/blog/waterfalldesk/ check out the photos in this post – you can see how I finished the sides around my desk. Hope that helps!