Hello!
I have a mini office makeover for you today. Have you ever had a room in a house that you just don’t quite know what to do with? This is that room for me. It’s a second living room that has been used as a playroom/office for a while now. But the kids have most of their toys in their rooms now, so now it’s kind of the office/guestroom. It’s in transition.
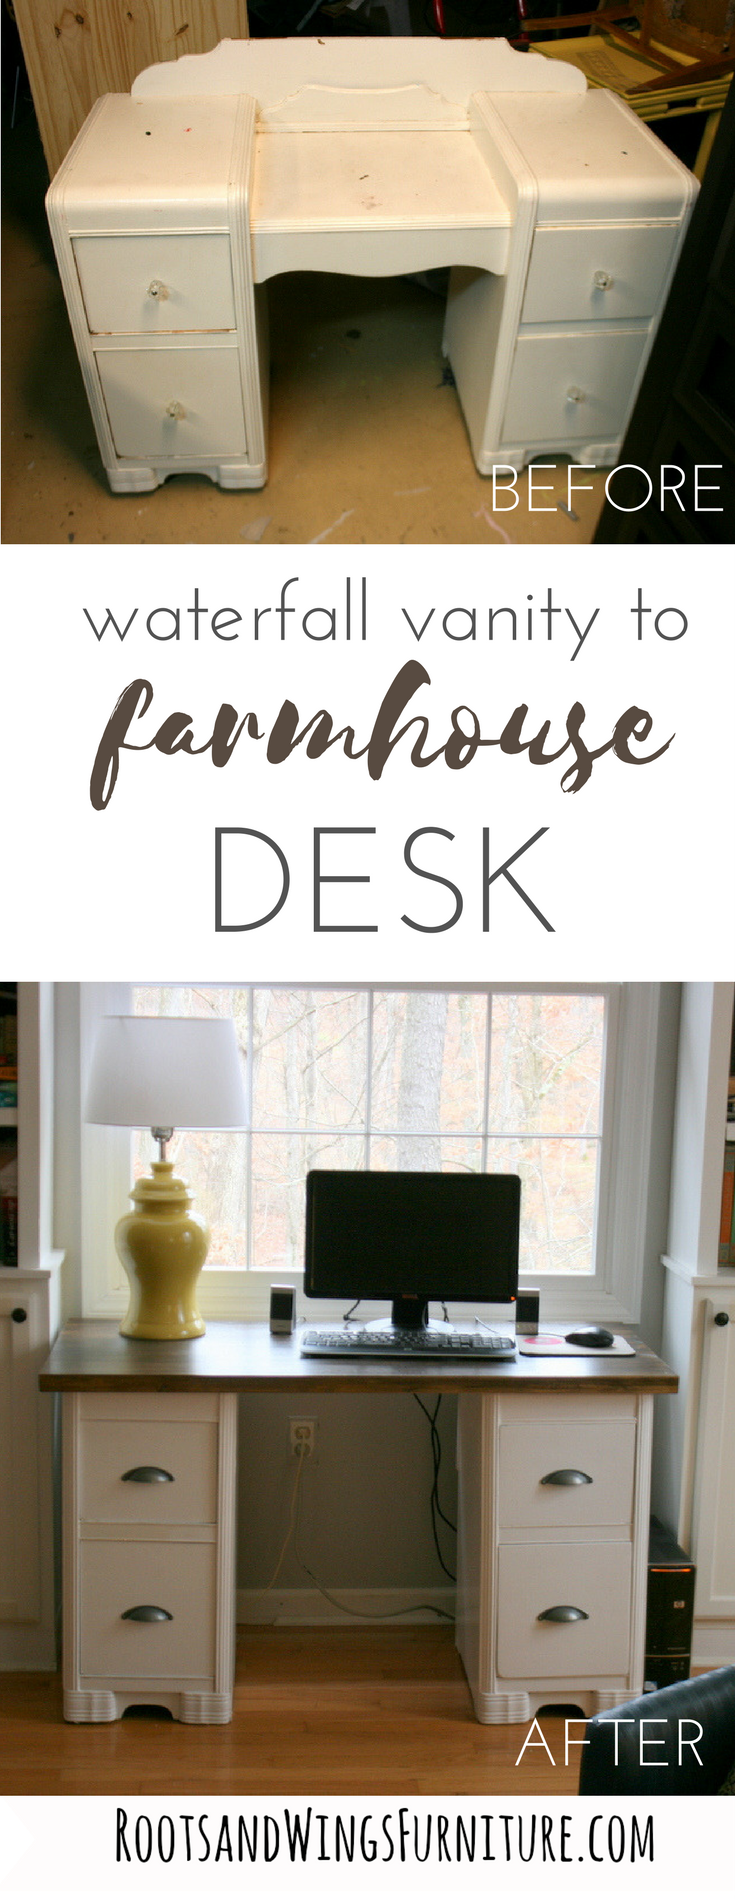
One thing I knew I needed was a new desk. The old one was a roadside find and the kids had managed to scrape off most of the paint off the top. It was in bad shape.
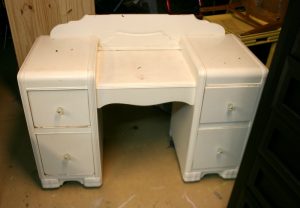
This waterfall vanity was given to me a while ago, it sat unsold after a yard sale – so I got it for free. I kept staring at it wondering what color to paint it – how to spruce it up. Then I thought, what if I separate the drawers and make it into a custom desk for the office.
Here’s the vanity before…
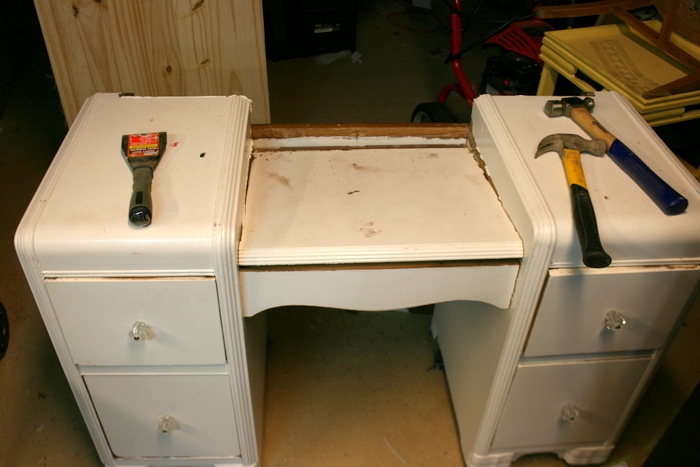
I basically just started going at it with a hammer. I just looked at how it was constructed and started taking pieces apart. Furniture demo is cathartic, let me tell you.
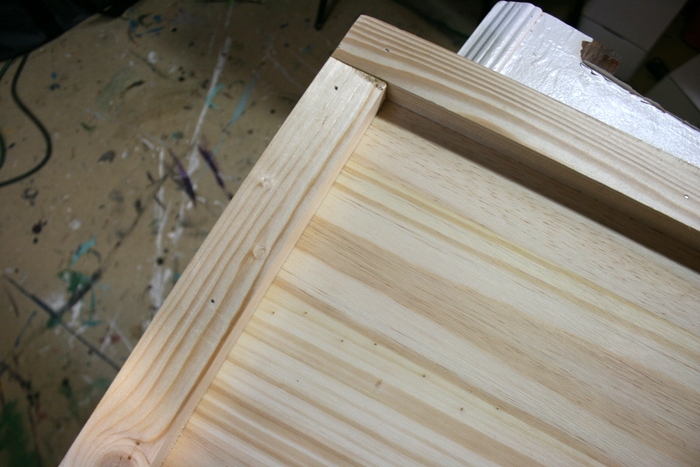
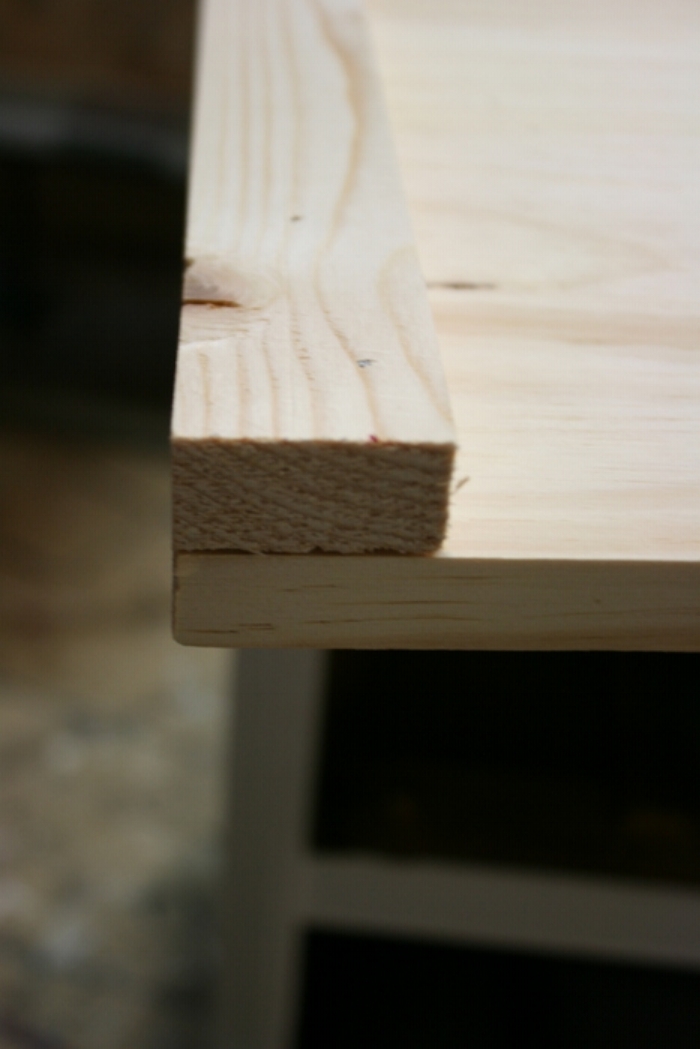
Once the drawer pieces were apart, I fit it with a new pine top. This is a laminated top from Home Depot (this one measures 24″x48″).
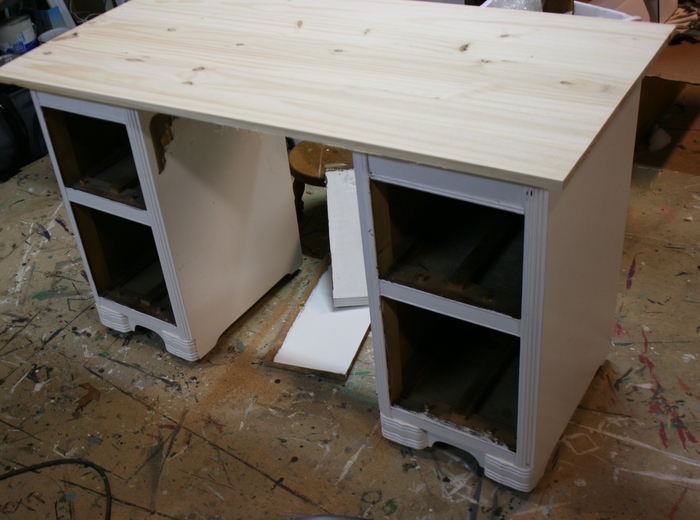

I wanted to beef up the edges a bit – both to cover the curve of the waterfall drawers and just to give it a little more substance. So I just added 1×2’s along the edges with a but of glue and nails.
This post contains affiliate links to help you find the products I recommend. Any affiliate earnings made go to support more fun projects!
After a light sanding I was ready to get to staining. I tried a new color, General Finishes Antique Oak. It’s water-based which means two things, 1. it doesn’t smell like oil based stain and 2. it dries faster (a couple hours), so I don’t have to be as patient.
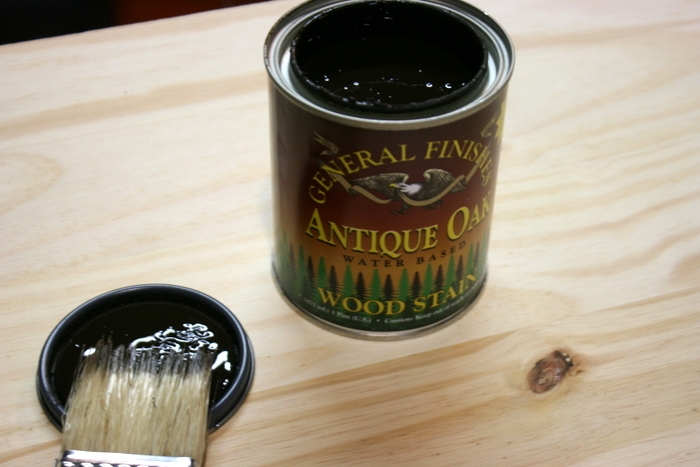
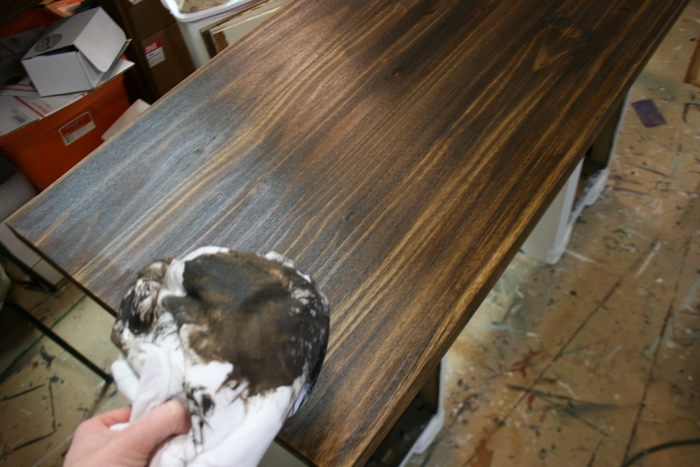
Here’s one coat of the Antique Oak. It was gorgeous, but perhaps a bit too yellow, so I added another layer of General Finishes Walnut wood stain to darken it a bit. I applied the stain with a chip brush and wiped it with a rag.
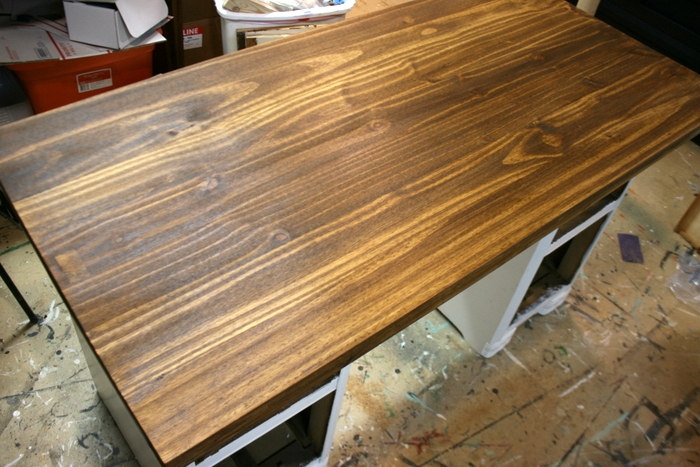
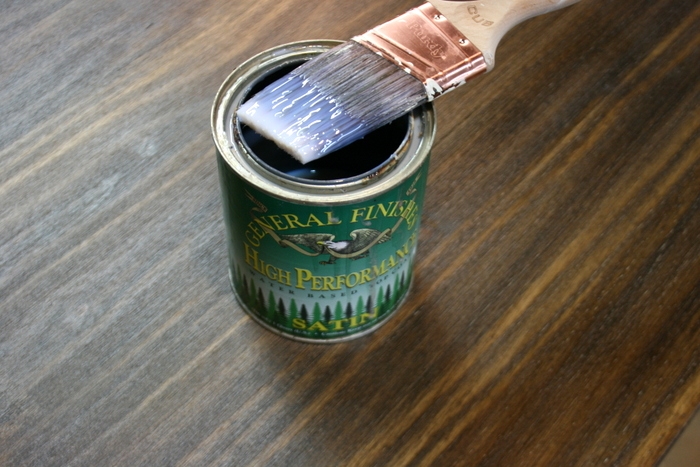
Once that was all dry I applied 3 coats of High Performance Top Coat in Satin. Sanding between each coat lightly with 400 grit sandpaper. The desk has a really nice texture – smooth but rustic.
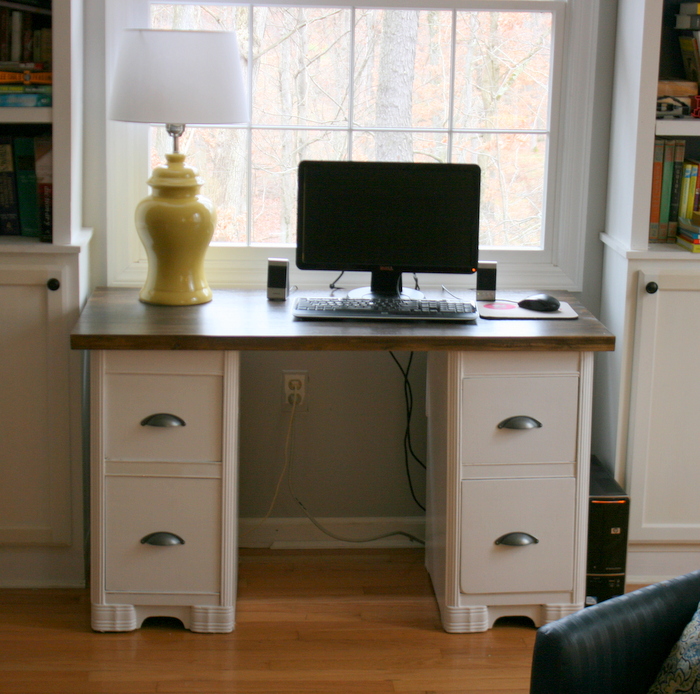
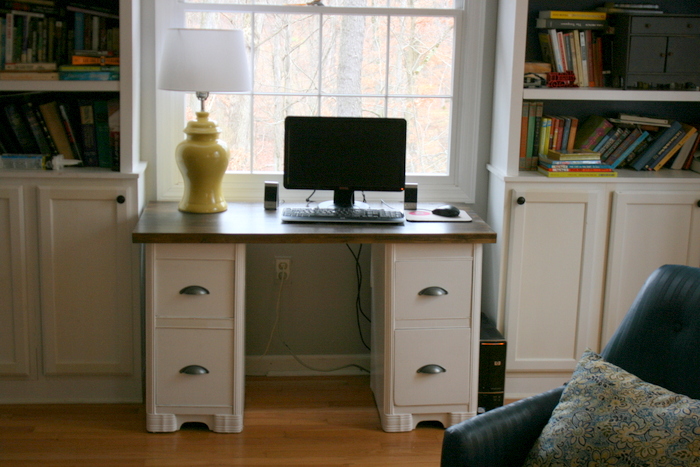
Once the top was all dry, I screwed the top to the drawer bases. And look what a difference… (yes, the baseboard still needs fixing and the cords need hiding, but look beyond all that).


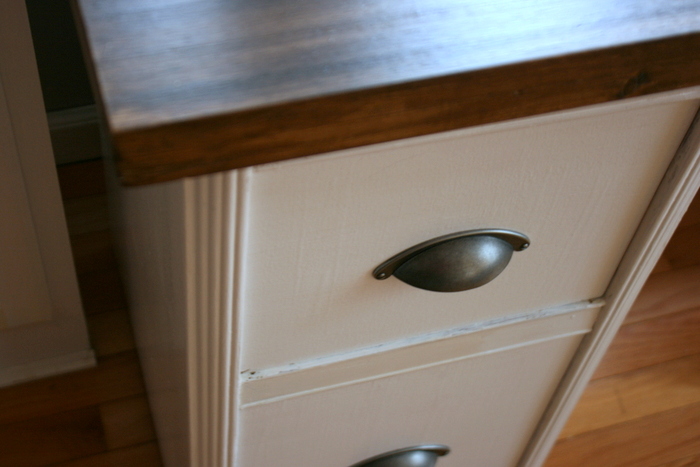
I used new cup pulls from D. Lawless hardware, and they compliment the farmhouse desk perfectly.
I’m loving my new desk space – it’s where I’m writing to you right now!
Next time you see a cast off piece at a yard sale or on the side of the road… imagine what it might look like with a whole new top!
Pin to share!
Blessings,
Jenni

