Hey there! Thanks for stopping by!! We are knee deep in this Summer Tutorial Series. Here’s the review:
Week 1: Java Gel Stain Tutorial
Week 2: Painting Laminate Furniture
Week 3: Color Washing Tutorial
Week 5: Pearl Effects Metallic Tutorial
Today we are going back to the basics a little bit. It’s going to be a shocker, but I don’t even paint in this tutorial. Gasp… I know.
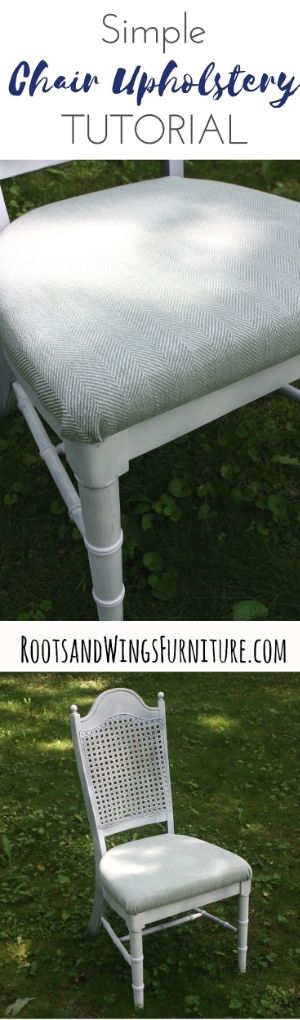
But here’s the thing, I know sometimes it takes a little planning to paint, a little design, a little more time. So if there is only one thing you should start with, you should do this. It’s a quick and easy (and cheap) way to change the look of your dining room chairs! Let’s learn some basic upholstery.
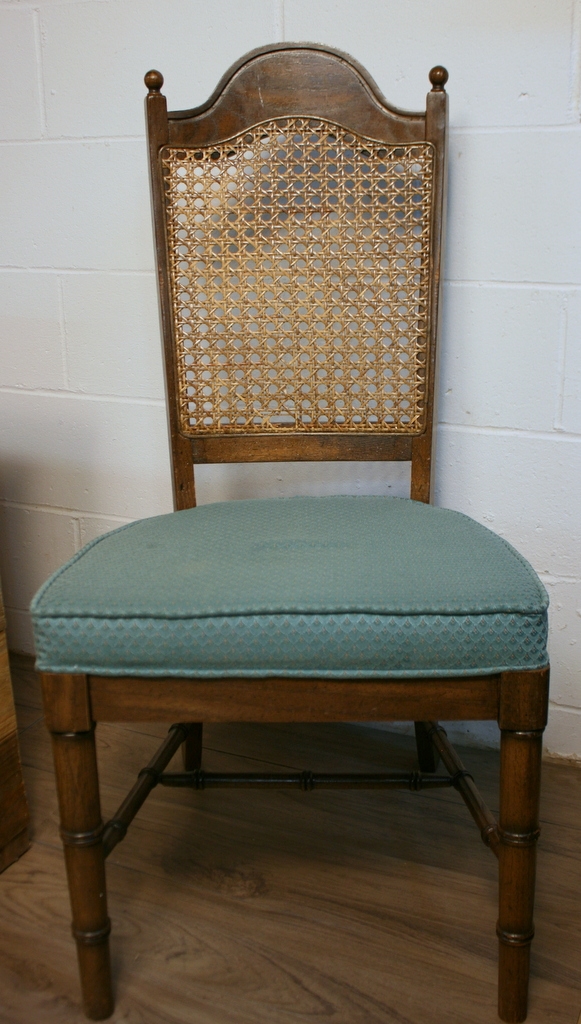
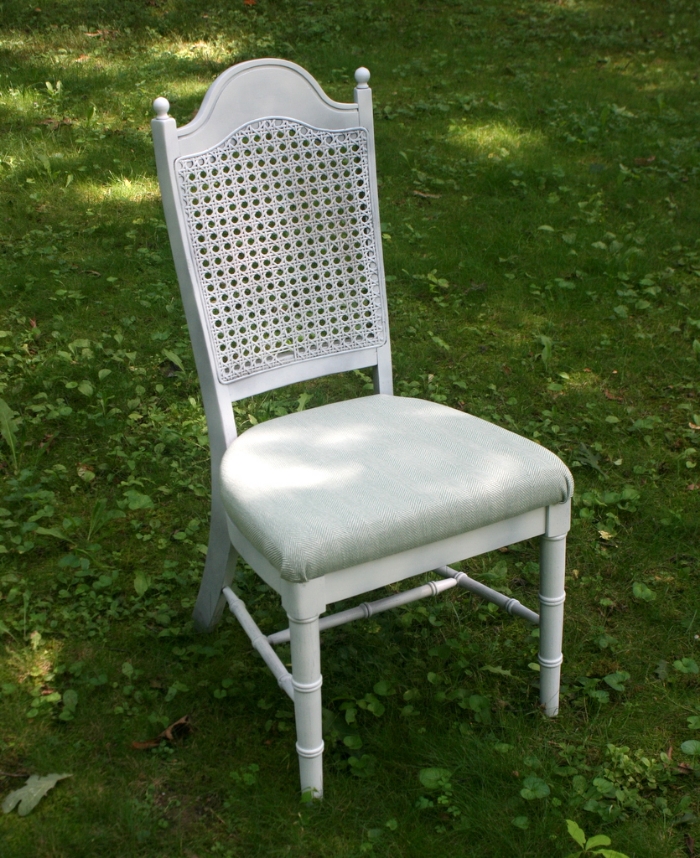
Here’s the before and after of this chair.
Affiliate links to help you find what you need! These are products I have tested and used myself or something comparable.
Here’s everything you need for this project:
● Screwdriver (phillips and flat head)
● Needle-nose pliers
● Upholstery fabric (½ yard per chair)
● Batting (optional)
● 2” foam (optional)
● Staple Gun hand or pneumatic
● ⅜” Staples
I did end up painting it after I filmed the video, but you don’t have to. If you ARE going to paint, one of my favorite chair tips is to start painting it with the chair upside down, that helps you get the inside of the legs, once the legs are started flip it right side up and paint one side at a time (front, side, back, side). If I have a method like this, it helps me not to miss a spot.
I also mention in the video, you can use a hand staple gun or you can get some more power with a pneumatic one like this (I have this one and love it!). And you’ll need 3/8″ staples for your gun.
A couple of tips on fabric, you need to choose something with a little weight to it, upholstery fabric, outdoor fabric, duck cloth or a canvas/denim. For most standard size chairs, you should get ½ yard of fabric per chair.
If you need to add a little extra padding (or if this is a roadside/thrift store find and you are feeling the need to be cautious, here is the foam I would use (cut to the same shape as the chair base), topped with a layer of batting and then the fabric).
I’d love to see before and afters if you try your hand at upholstery, we are partying this summer with before and afters using #refinishthis and #notuglyforlong (on Instagram and Facebook).
If you love this tutorial, please PIN to share!
Happy Upholster-ing (that’s not a word!)!
Jenni

