I’ve noticed there are lots of questions about topcoats. In fact, whenever topcoat is part of a YouTube video, people go back and watch the topcoat section over again. So, let’s talk topcoats. Applying the right topcoat can make or break the whole project. There is nothing worse than getting to the stage you are ready to apply the topcoat only to find it doesn’t go on right, and you have to sand it down and start over! In this post, we’ll discuss the different types of topcoat, when to use them and how! I’ll link to projects and videos along the way that show the different topcoats in action.
This post contains affiliate links to the products I use and love. Clicking on these links pays me a small commission, but costs you no extra. To see my full disclosure policy, click here.
Water Based Polyurethane Topcoat
https://www.youtube.com/watch?v=eb8VAnLH1bg&feature=youtu.be
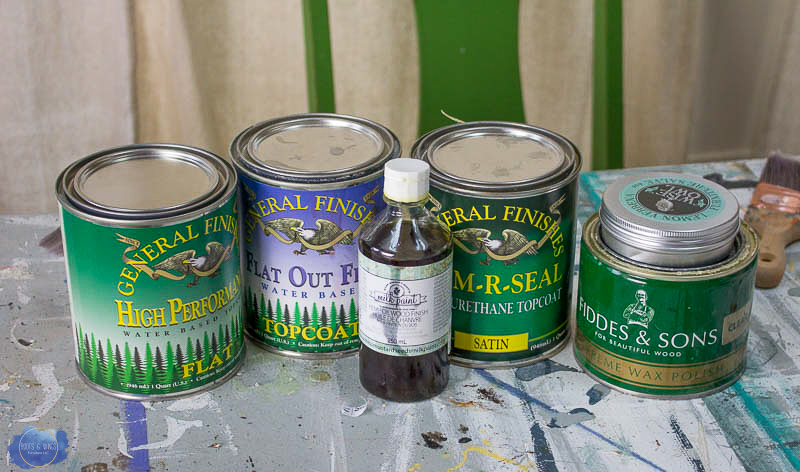
Favorites – General Finishes High Performance Topcoat in Flat or Satin finish.
Uses – On just about everything. I use this over painted pieces, wood, etc. It’s quick and easy to clean up and use. Over wood pieces I usually do 3 coats, over painted pieces one coat is usually enough.
Durability – Water based products don’t “sink in” like oil based, so they aren’t quite as durable. Water based polyurethane literally creates a coat that protects the piece. I do think water based polyurethane’s have come a long way in durability and except for a very high use piece of furniture, this is usually enough.
Application – Use a good quality brush. My favorites are Purdy brushes, but use a good clean brush. Most importantly DON’T OVER BRUSH. Get enough on the piece, spread it evenly once and leave it alone. Let it self-level and you will have a much better finish. Watch this video for how to apply the topcoat.
Dry time – 2-4 hours under normal conditions. It dries quickly so you can continue with the refinishing process quickly. After the last coat, it is recommended to let it dry at least 24 hours before light use.
Common Mistakes – Not using enough, you have to be sure to use enough to get a nice even coat across your entire piece.
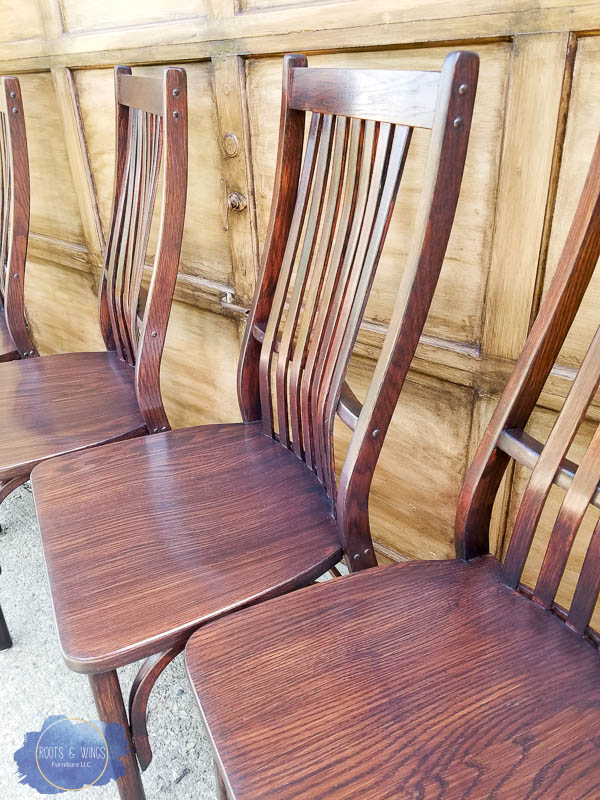
These chairs were sealed with Satin High Performance Topcoat, you can see the nice even shine, and the beautiful finish the topcoat gives.
Topcoat Over Paint
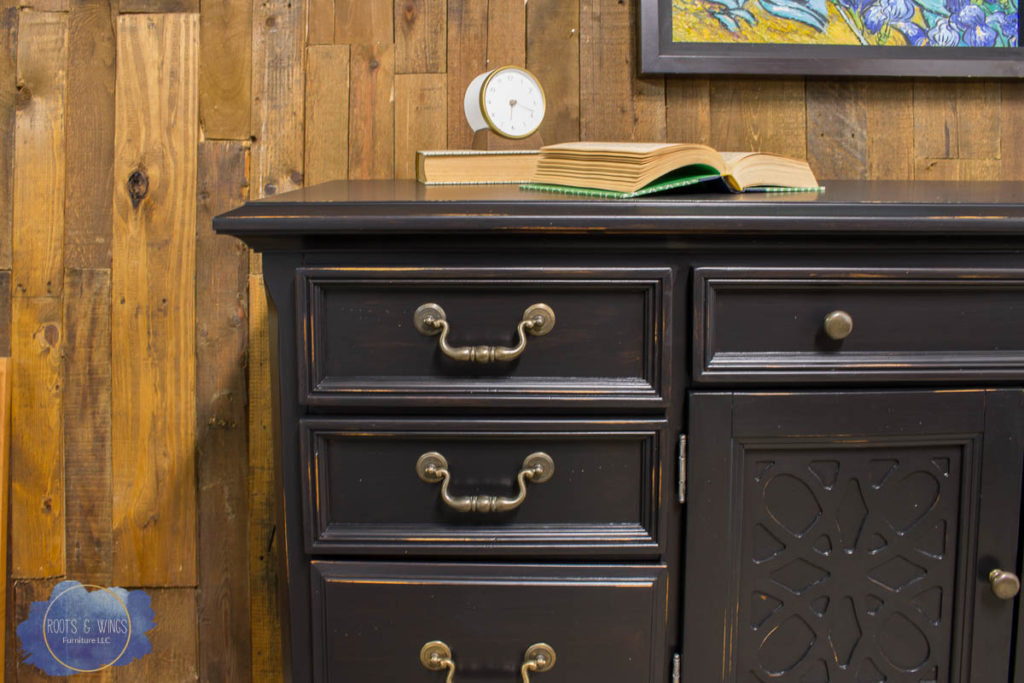
If you want to increase the shine and durability of a painted piece of furniture, you can use the same water based topcoat over paint. Usually only one coat is needed, but it will give it a nice luster and seal the paint and any distressing. Skip to about 6:05 on this video to see how I apply topcoat over black paint.
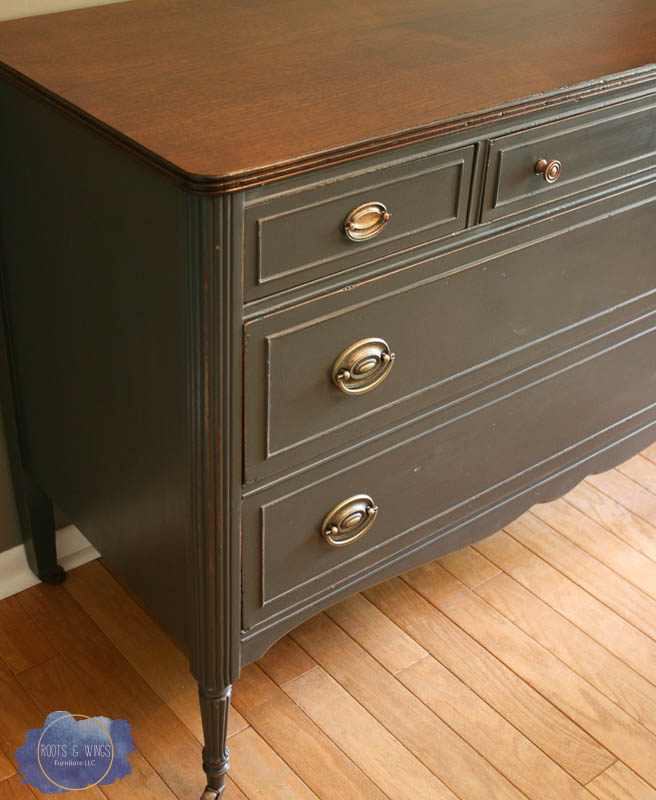
I’ve not had any issue when using topcoat over dark colors – if you see any streaky-ness or miss a spot on the first coat, you can always give it a second coat. If you are applying more than one coat of water based polyurethane on a painted piece, DO NOT SAND between coats! It is unnecessary and could scratch up the paint. More on this black distressed dresser can be found here.
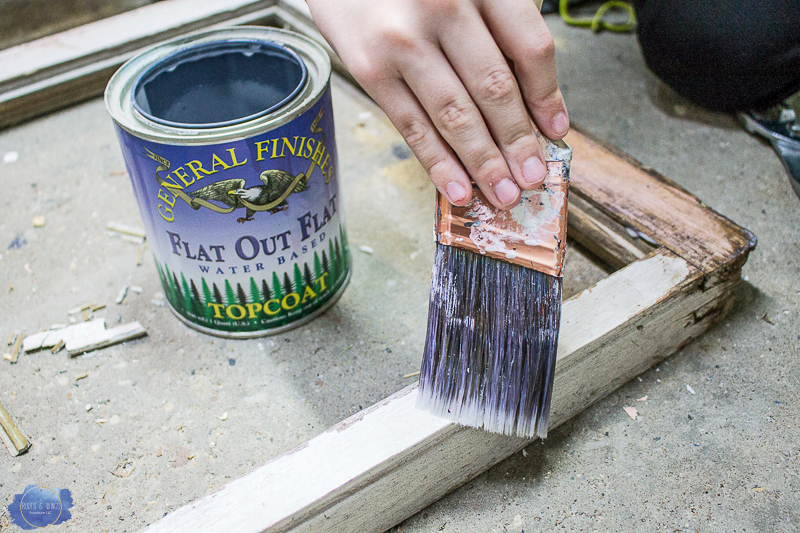
Flat out Flat Topcoat
Favorites – General Finishes Flat out Flat Topcoat
Uses – This is a water based polyurethane, with the most flat, matte finish. It’s my favorite topcoat for chalk style paints. When used with chalk paint it give a nice buttery smooth finish (similar to a wax, but with the ease of a liquid topcoat). Also good for sealing chippy wood or barn wood where you do not want any added shine.
Durability – Because of it’s matte properties this is the least durable of the water based topcoats, however it’s still a very good solution.
Application – Use a good quality brush. My favorites are Purdy brushes, but use a good clean brush. Most importantly DON’T OVER BRUSH. Get enough on the piece, spread it evenly once and leave it alone. Let it self-level and you will have a much better finish.
Dry time – 2-4 hours under normal conditions. It dries quickly so you can continue with the refinishing process quickly.
Common mistakes – This is a very forgiving topcoat. Just be sure to use enough to get a good even finish.
Hemp Oil Topcoat
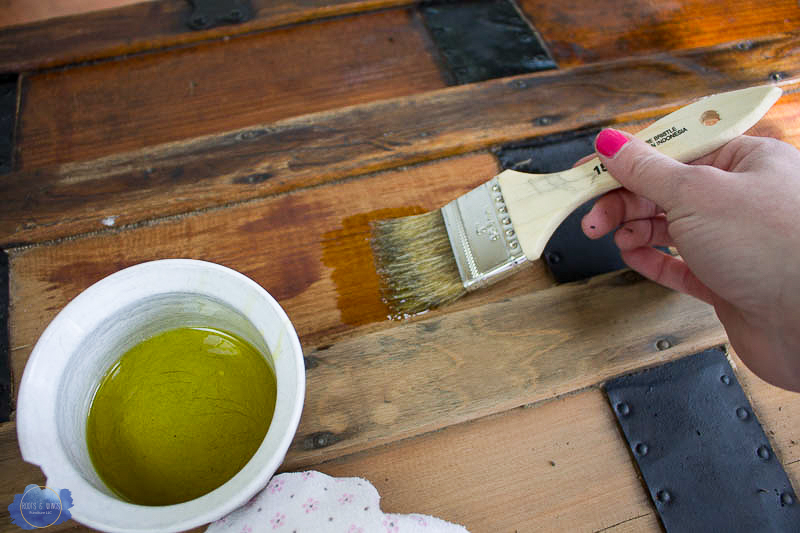
Favorites – Miss Mustard Seed Hemp Oil , Dixie Belle Hemp Oil
Uses – To seal and re-hydrate very dry wood, perfect to revive an old antique piece without fully refinishing it. Also good for use on powder base milk paint or to seal chalk paint with a more natural finish. Good to polish metal surfaces (old hardware!) as well as leather. My favorite place to use Hemp Oil is on an old steamer trunk, nothing brings them back to life quite like Hemp Oil!
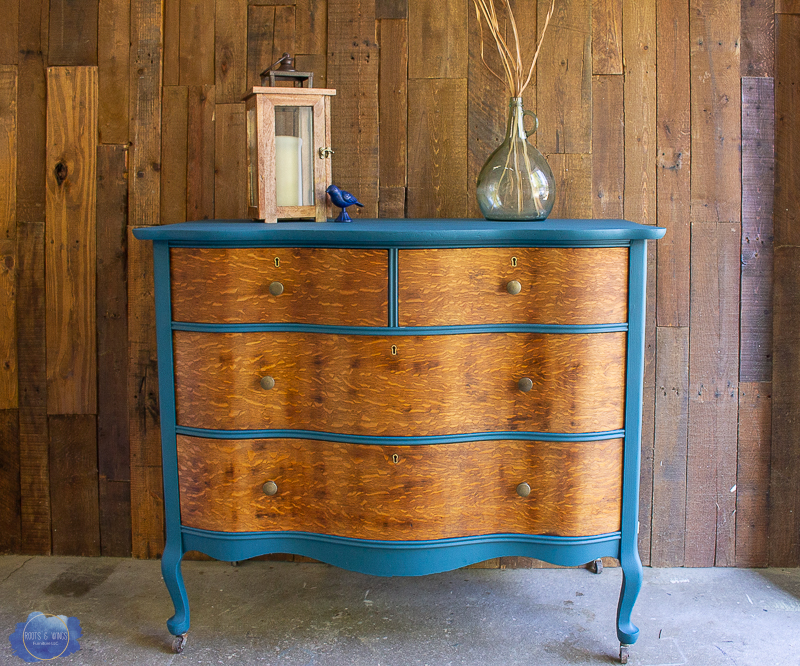
Durability – Hemp Oil is a deeply penetrating oil. It doesn’t dry to a “hard finish” but conditions and hydrates the wood as it soaks in protecting it from water and other products that would hurt the surface. It’s a more natural finish deepening the color of the wood (or porous paint) as it soaks in. I used it on the fronts of the drawers on this dresser. It gave them a beautiful lustre and shine in a place where I didn’t need the topcoat to be very durable.
Application – Hemp Oil is best applied with a brush and then the excess wiped back with a cloth. Don’t let the excess oil sit on the surface but wipe it back and buff it as it dries.
Dry time – Once the oil has penetrated, about 30 minutes the surface feels “dry” however the hemp oil takes 20-30 days to fully cure and absorb all the oil.
Common mistakes – Not wiping back the excess can cause the piece to become tacky and “never dry”.
Oil Based Polyurethane
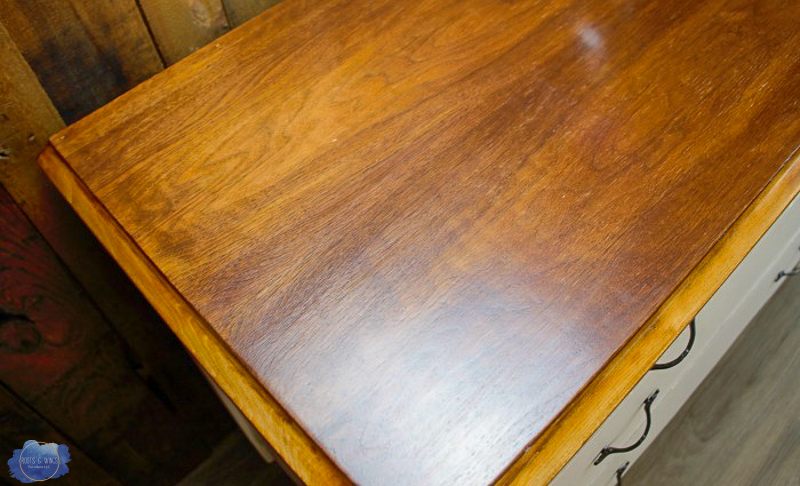
Favorites – General Finishes Arm-R-Seal
Uses – Best for re-stained or raw wood when you want a really good, durable finish. I’ve never used Arm-R-Seal over paint, you can. Wipe on Poly is good over darker colored paint finishes. This is a fantastic option if you are working with a really pretty piece of wood and want to really enhance it for it’s full beauty AND have a bit of patience with the dry times.
Durability – This is a super durable finish. Arm R Seal soaks into the wood to penetrate while also creating a hard finish on the top of the piece. The more coats you do the more durable finish you will have.
Application – My favorite way to apply is with a t-shirt rag. You can also use a foam brush, wipe off the excess with a clean cloth. Finish sand with 400 grit sandpaper between coats. Apply along the grain to reduce strokes. Apply at least 3 coats, but up to 7 depending on the piece you are working on. It takes all the layers to build up a strong protective finish.
Dry time – 24 hours or more under good drying conditions. This process takes longer so be patient. From General Finishes: “You can tell if an oil-based finish is dry if it is no longer tacky, cool to the touch, and if you can press a cotton ball over the surface and nothing sticks.”
Common mistakes – Not allowing enough dry time between coats. LET IT DRY! Also stir your can regularly, especially if using the satin finish. The flattening agents sink to the bottom of the can quickly so keep stirring the can to keep it mixed up.
I used Arm-R-Seal on our kitchen table which we use daily. It has held up wonderfully, and wipes clean every time!
Wax
Favorites – Fiddes & Sons Wax, Minwax Paste Wax, Dixie Belle Best Dang Wax
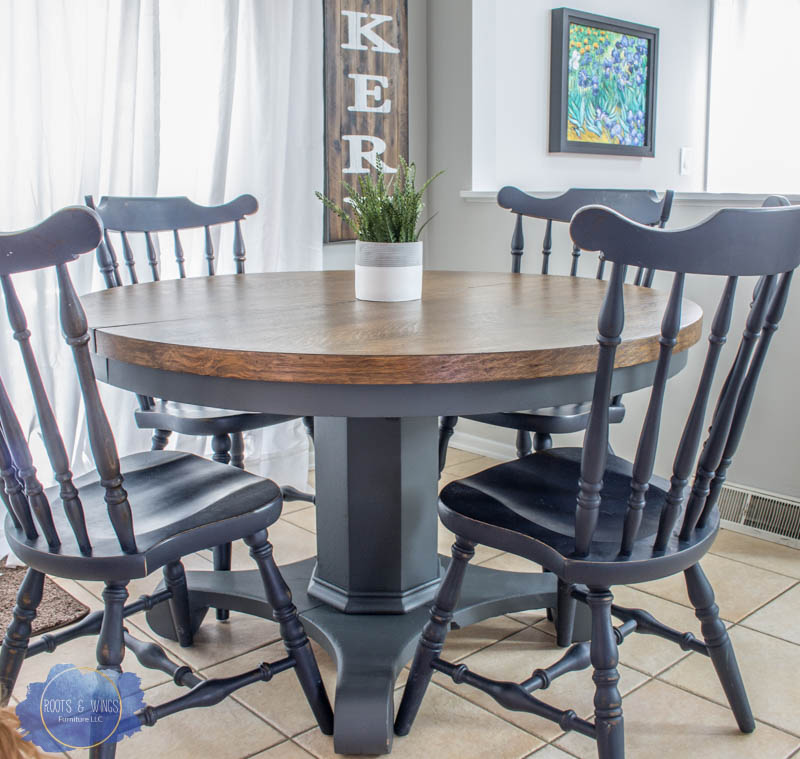
Uses – Wax gives a soft finish, and I think it has a better place in adding some color or texture to a piece instead of being the topcoat. Popular now for the more decorative finishes and textures on furniture. I no longer use wax in my refinishing process as I find there are much better, easier to apply topcoats available. Wax is also extremely hard to remove so for future refinishing it makes it a much more involved process. *UPDATE: Dixie Belle Best Dang Wax is water based, so you can apply a topcoat ON TOP of the wax and give a more even, durable finish. I used this process on this table for the “barn wood look”.
Durability – Not very durable. Because of the “soft finish” wax gives it needs to be maintained over time, adding a new layer of wax every few years – which no one does, so it’s not a very long lasting finish.
Application – There are different ways to apply wax, a few of my favorites are a wax brush, or a cotton cloth. For more decorative finishes, a chip brush may be all you need.
Dry time – Depending on the kind of wax dry time is about 10-30 minutes. With a cure time of 20-30 days.
Common mistakes – Using too much wax! Too much wax can give the “never dry” feel. It will be more likely to smudge and hard to get a good even finish.
There you have it, everything you ever wanted to know about topcoats. Which topcoat is right for your project? I hope this is a guide for you, the next time you need a little help deciding!
Jenni

