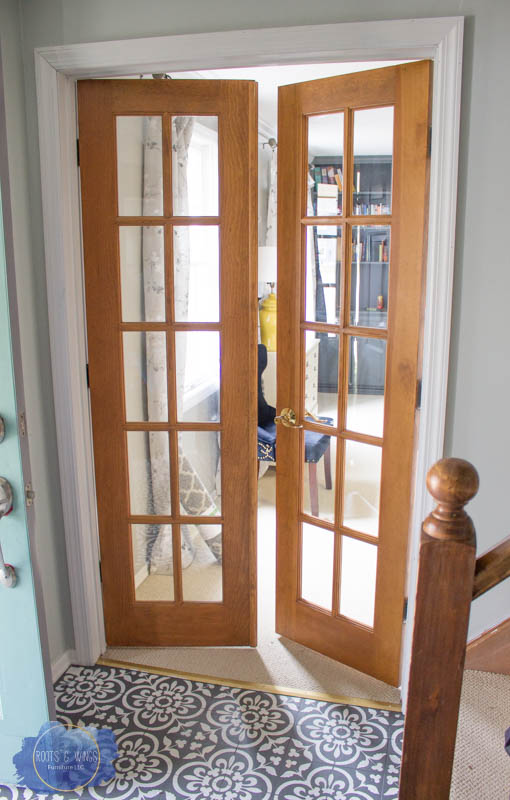
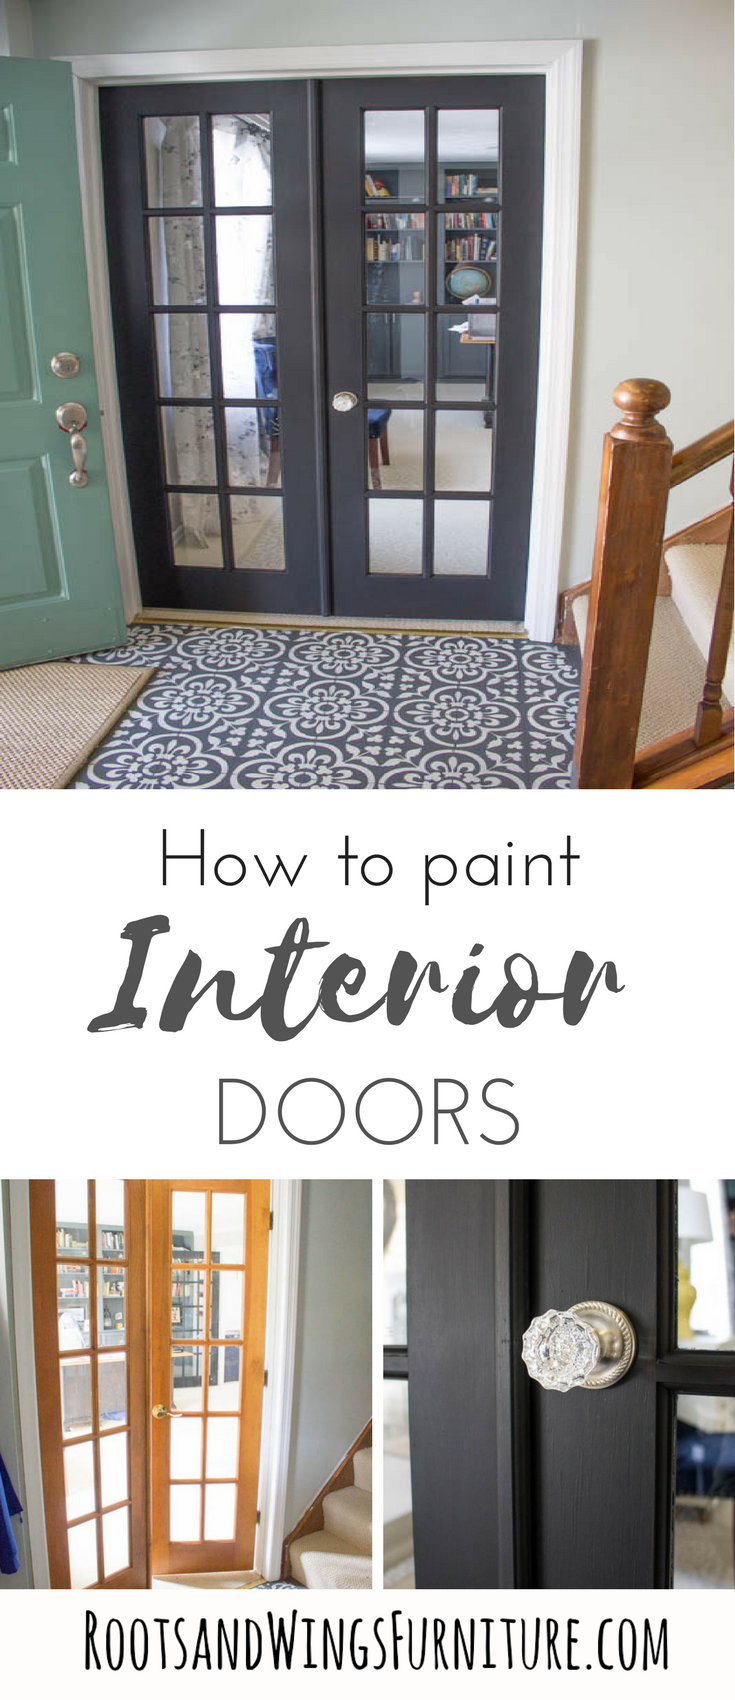
Our house came with some fabulous French doors. They had been added by a previous owner, then removed to sell the house. But I had a vision for those beauties – I wanted to add a couple of black interior doors – something a little fancy a little more like a statement piece. They are super functional to have in the office too – a little sound barrier in our crazy house 😉
This post contains affiliate links to help you find the products I use and recommend. If you use a link I get paid a small commission, to see my full disclosure policy, click here.
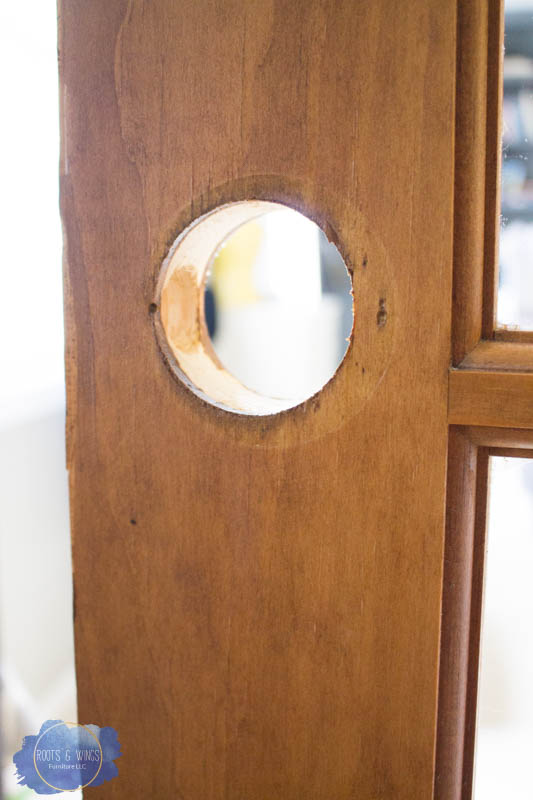
I’ve painted my front door with General Finishes Milk Paint before, but had never given it a try inside. It’s the perfect door paint though – durable acrylic paint, that dries quickly, levels well and is very durable. General Finishes Lamp Black is a true black, so that was another plus. So here’s what I did. I rehung the French doors, took off all the hardware – it was going to be all new anyway (wait until you see the pretty knobs) and got ready to paint.
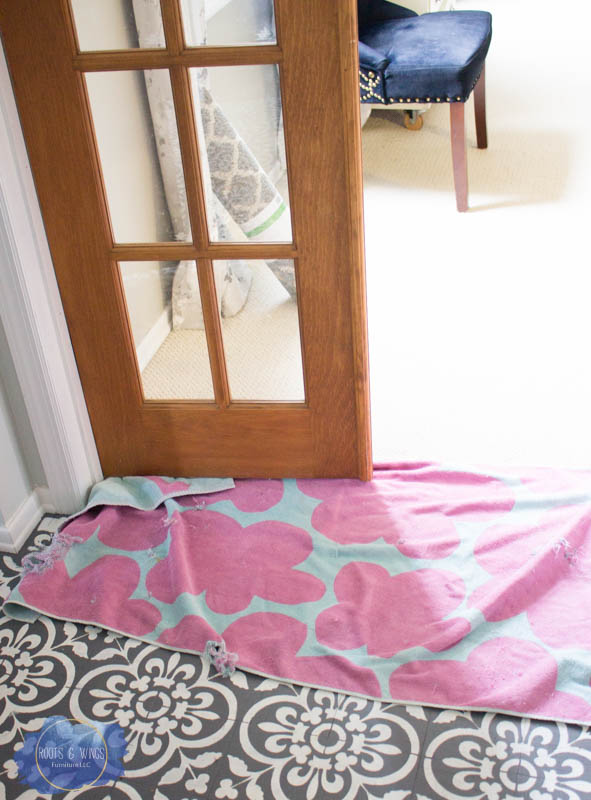
I learned a handy trick to use an old towel instead of a drop cloth – it’s smaller, and easier to drag around from spot to spot. I tucked this old towel under the door to protect my “new” floors.
I did no prep work for these doors – they were not shiny and not particularly dirty – so I grabbed one of my favorite brushes and Lamp Black Milk Paint and got to painting.
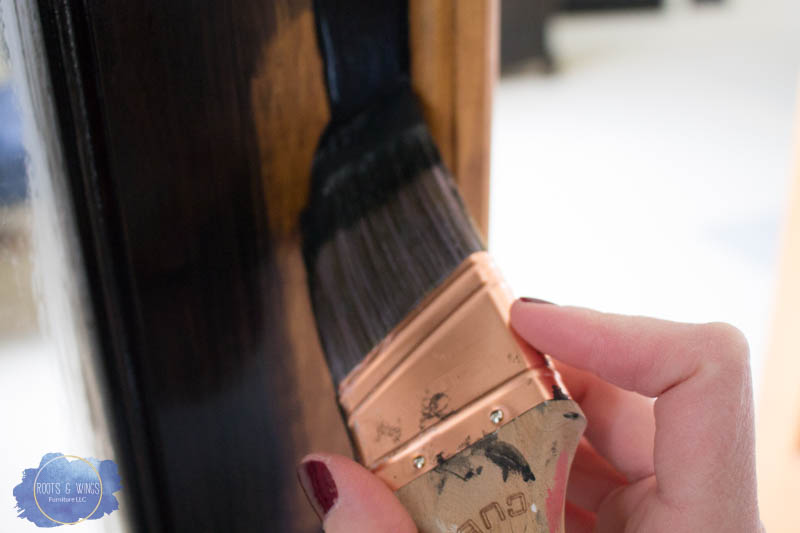
I learned to start in the detailed places, get the paint in there really well so you don’t miss a spot – these areas are the spots to watch for drips, so I did all these nooks first, then come back and do all the flat spots (stiles) of the door. This will help you catch any drips as you go.
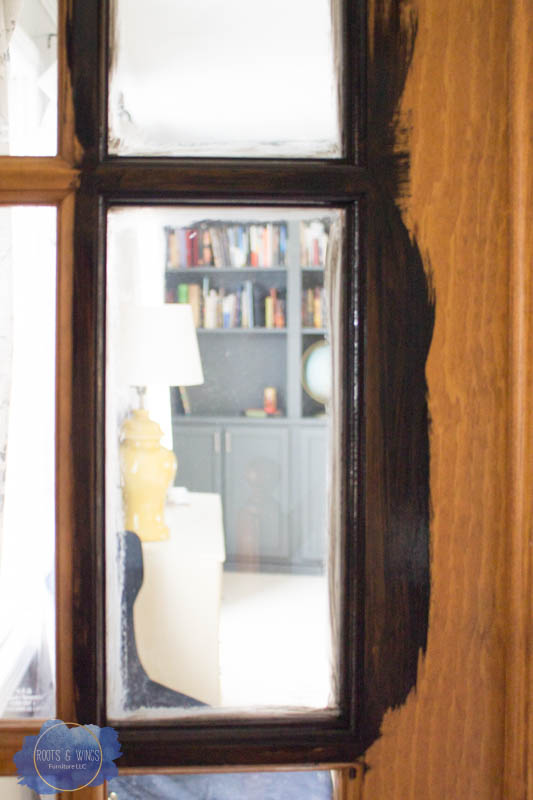
The first coat covered well, but I definitely needed a second coat to get the coverage I wanted. I let the first coat dry a couple hours and came in with the second coat. Once it was all dry, it was time to clean the glass.
I decided NOT to tape off the glass. I prefer to just make a mess, and then scrape the glass with a flat razor once the paint is dry. It takes time to scrape the glass, but it also takes time to tape off each little pane of glass, so you pick which you’d rather do. You do you. I decided to scrape later.
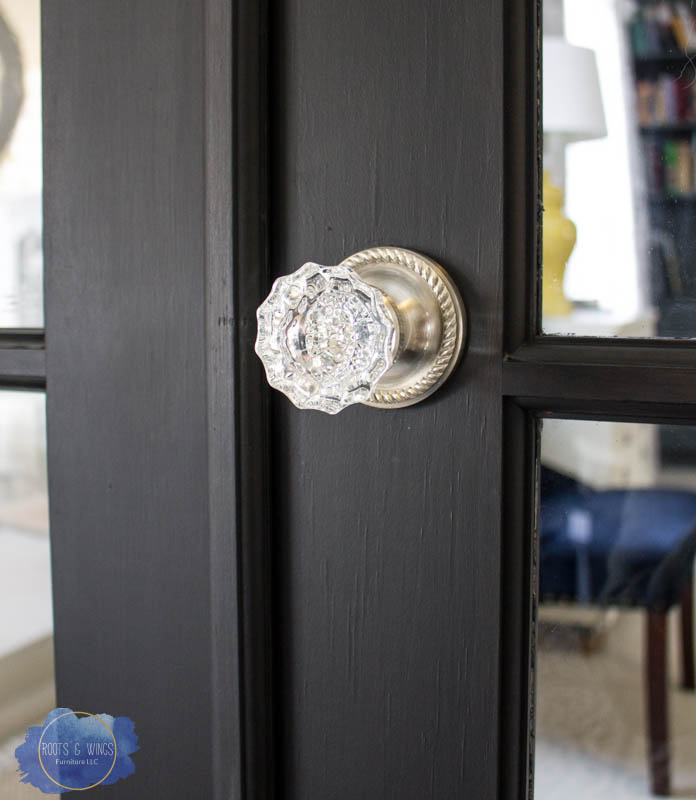
To be a little extra fancy (and just for fun) I bought these crystal knobs for the French doors. They are so pretty – it’s like jewelry for the doors! I love them.
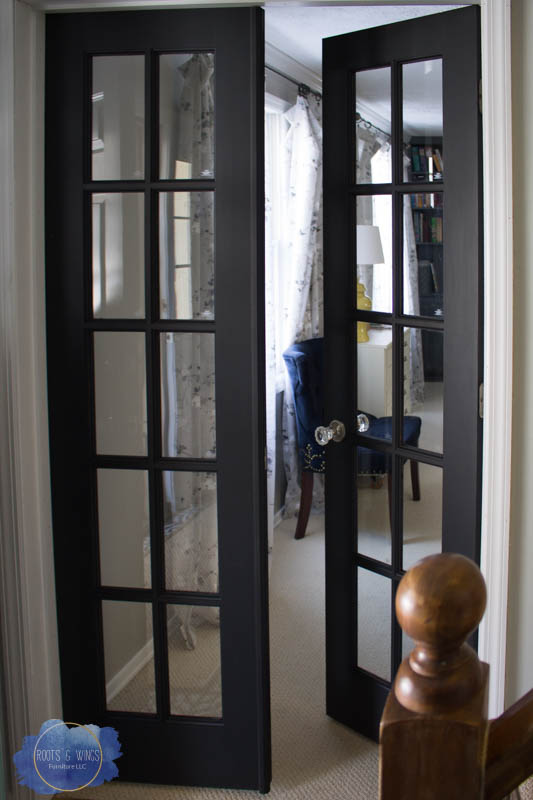
There you have it – it’s an easy project that makes a really big difference in the space!!
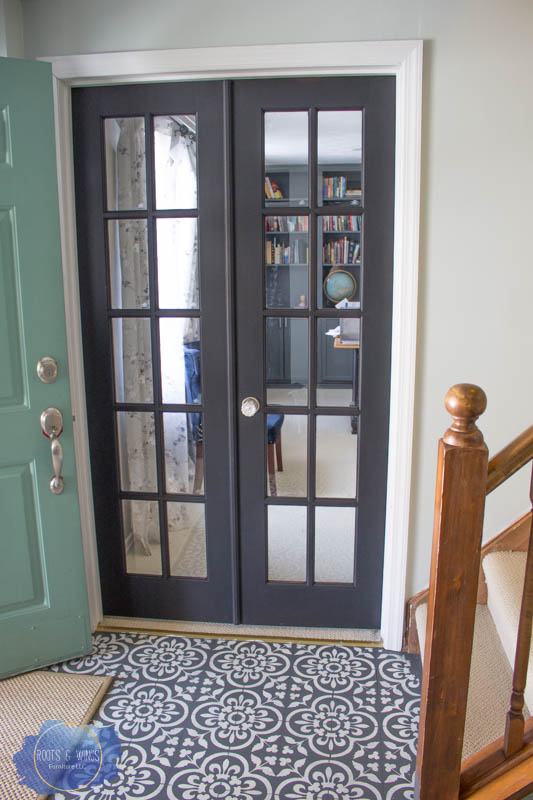
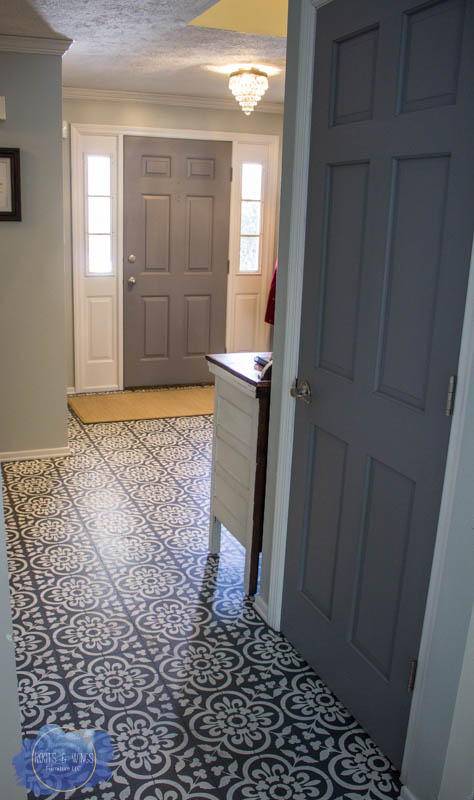
You may also have noticed in this photo I painted my other interior doors too – these were a mix of Seagull Gray and Driftwood Milk Paint. All the first floor interior doors were painted in this color – I love the additional shade of gray in the space. It’s a fun, unexpected detail.
A little more interesting than white and fewer coats of paint is a win in my book!
Painted anything lately?
Until next time,
Jenni


Hi, I noticed you didn’t use a topcoat, how has the paint held up. I’m painting my interior doors coastal blue and I’m debating wether to add topcoat.
My doors have held up great!! I didn’t use a topcoat on mine. I don’t think it would be needed, however sometimes I like to topcoat the darker colors (black, navy, etc) so they don’t show finger prints and dust so badly. No scratches, or scuffs here though!
Just a side note on this paint from GF. It doesn’t needs a top coat. It hardens to an amazing finish! Never thought to use it on doors but I have 8!french doors I’ve been wanting to paint black! Thanks for this post!! I’ve used their milk paint on night stands and it’s a lovely finish and so smooth to apply!
Hi Tammy! You’re right! That was one of the first things I loved about GF Milk Paint. It does wonders on doors! I love my painted doors, and they have held up really really well!