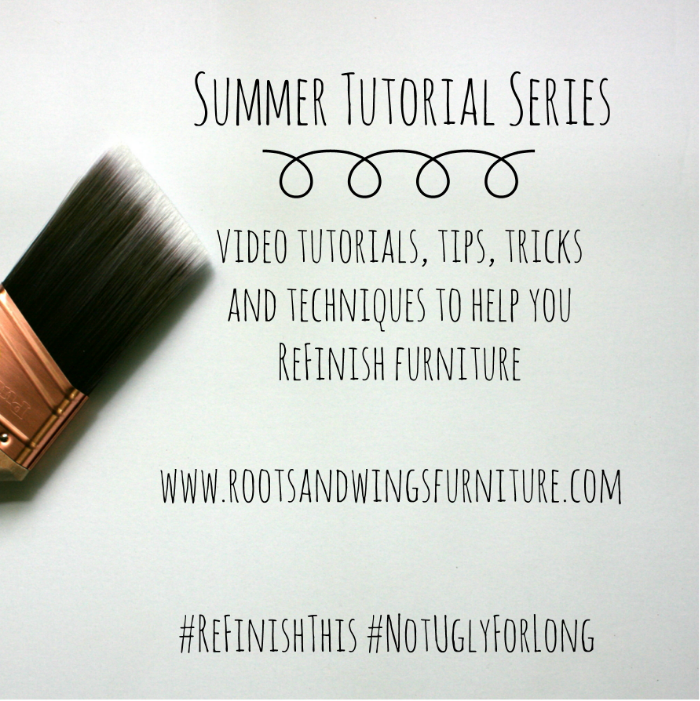
Ready for another tutorial? Are you feeling inspired? Are you ready to try something new?
Here’s what we’ve covered the last few weeks:
Week 1: Java Gel Stain Tutorial
Week 2: Painting Laminate Furniture
Week 3: Color Washing Tutorial
Week 5: Pearl Effects Metallic Tutorial
There are affiliate links included in this post to help you find what you need! These are products I have tested and used myself or something comparable.
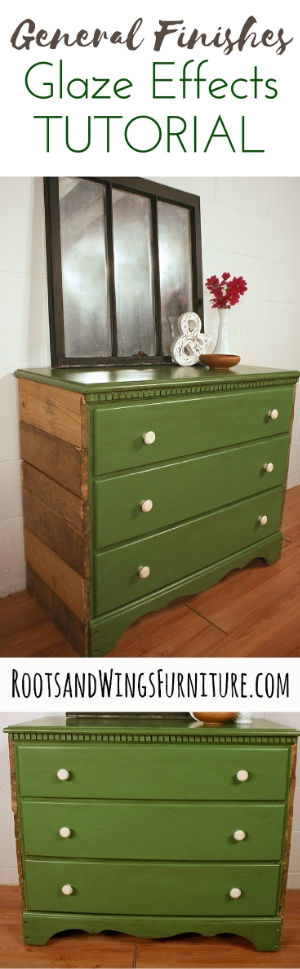
This week’s tutorial is all about glazing. There are a couple of ways to use glaze, it can give you the antique look, to make the piece look aged and old. It also tones down bright colors, that on their own may be too bright. Glazing also settles really nicely into details, paint strokes, and imperfections achieving a really detailed look without much work.
Glazing can also get the same look as dark waxing. I started working with dark wax because I was a little afraid of glazing, but once I tried it I realized how easy it is.
When using glaze you will want to start with a paint that has some sheen to it. If your paint is too flat it will absorb the glaze and you won’t be able to move it around like you want. I’m using General Finishes Milk Paint, it has just enough sheen (about an eggshell finish). If you are using a flatter finish (like chalk paint) or just want more control apply a clear topcoat in Satin finish to give you more shine.
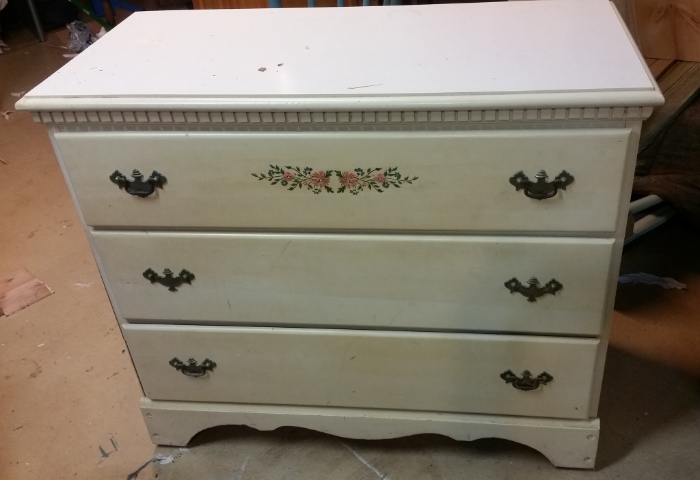
Here’s the how the piece started in the tutorial video, it had seen better days. The sides had water damaged veneer so they were peeling off, I removed it and replaced it with pallet wood planks.
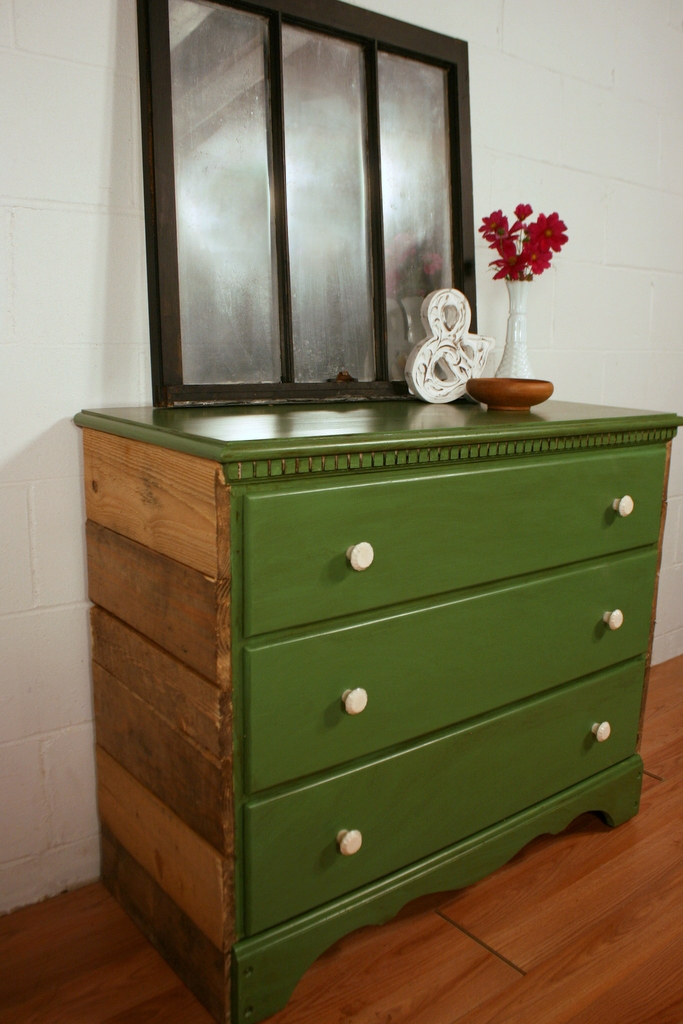 Van Dyke Brown Glaze over Lime Green + Coastal Blue Milk Paint
Materials Needed:
● General Finishes Milk Paint
● General Finishes Glaze Effects (I used Van Dyke Brown in the video)
● Damp Paper Towel, Dry Paper Towel
● Gloves
● Purdy XL Cub Paint Brush
● General Finishes High Performance Top Coat
The green is a custom color mix of General Finishes Lime Green & Coastal Blue Milk Paint. I applied the first coat just like I would in this here.
Once that was dry I was ready to glaze, here’s the tutorial.
Once the final topcoat is dry, let it sit 24 hours before use. And there you have it! Here are a few other examples of pieces I’ve glazed:
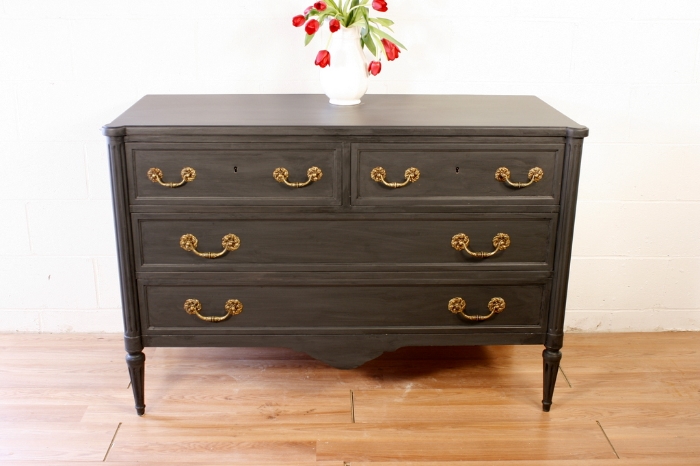 Pitch Black Glaze over Queenstown Gray Milk Paint
 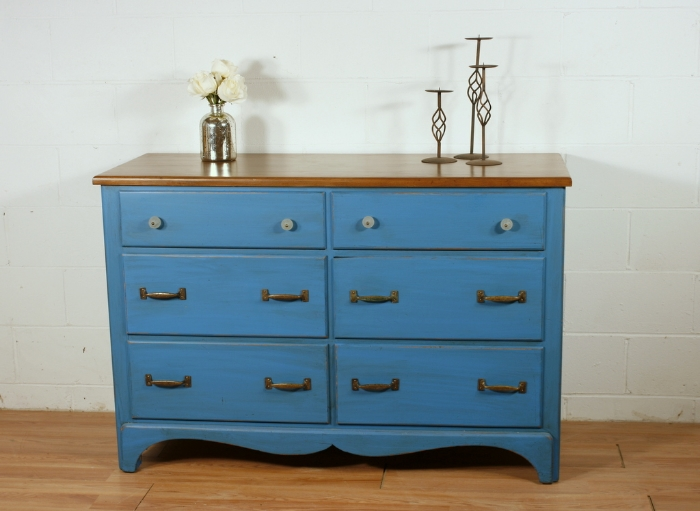 Burnt Umber Glaze over Corinth Blue Milk Paint
 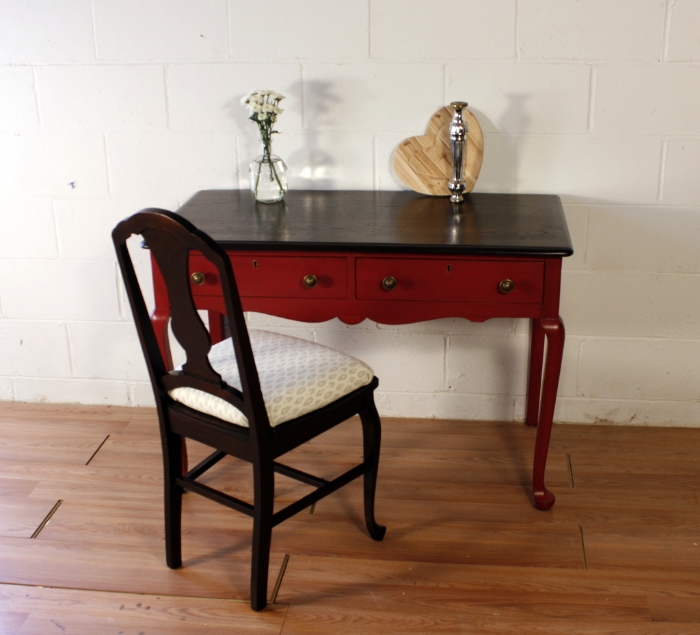 Van Dyke Brown Glaze over Crushed Velvet Latex
  Burnt Umber Glaze over Teal Latex
I’d love to see before and afters if you try glazing, we are partying this summer with before and afters using #refinishthis and #notuglyforlong (on Instagram and Facebook).
If you love this tutorial, please PIN to share!
Happy Glazing!
Jenni

