You know the piece.
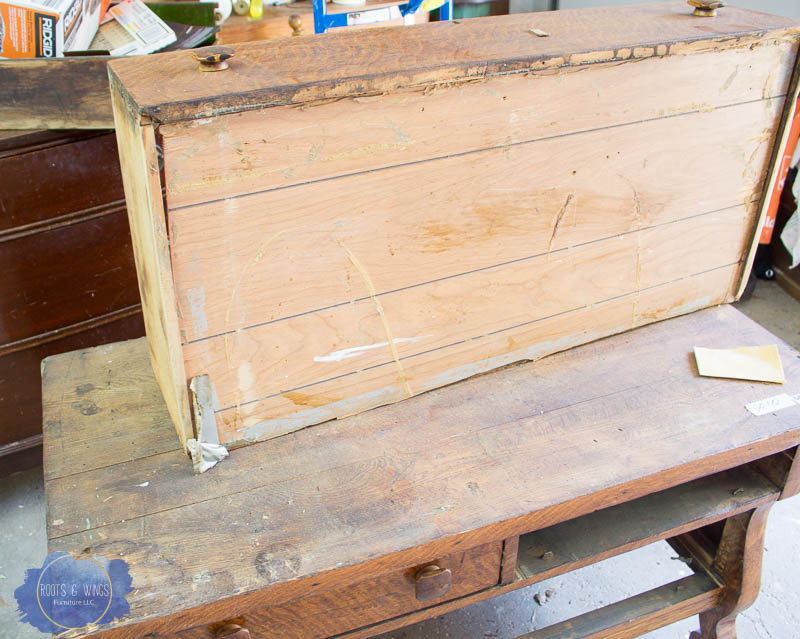
The one that you find in an antique store. It looks amazing… on the outside. You go to pull a drawer only to find that it doesn’t budge.
Hmm… you wiggle a bit, finally get one of the drawers to come out and find that the bottom of the drawer is duct taped in place.
So it needs a little more work than you had hoped, but you buy it anyway, because you can see it’s going to be worth it.
That’s the story with this piece, so I thought it was a good opportunity to continue our series on furniture repair. This time it’s all about drawer repair.
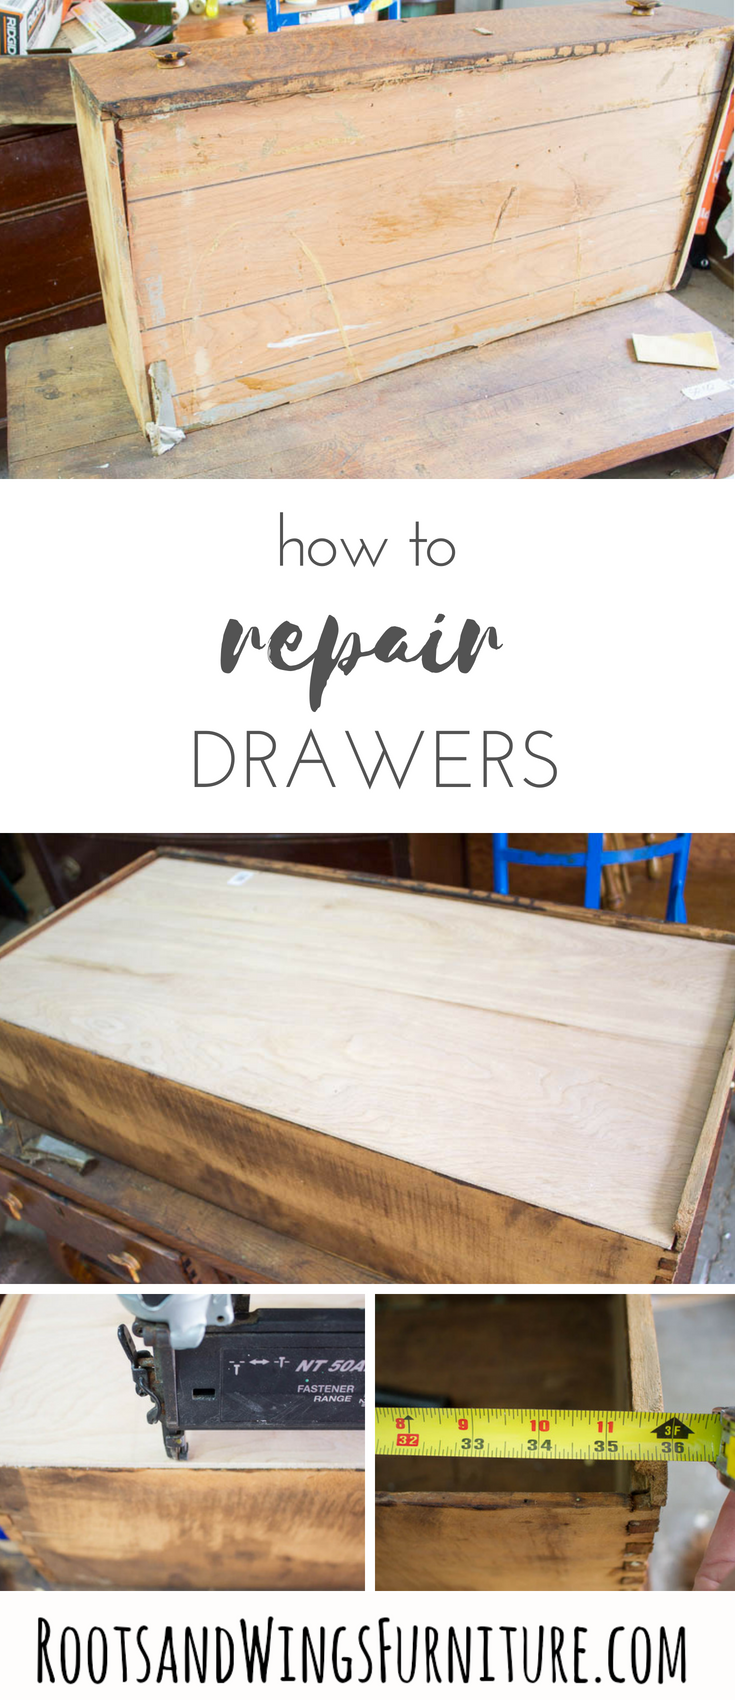
Furniture Repair: How to Replace a Drawer Bottom
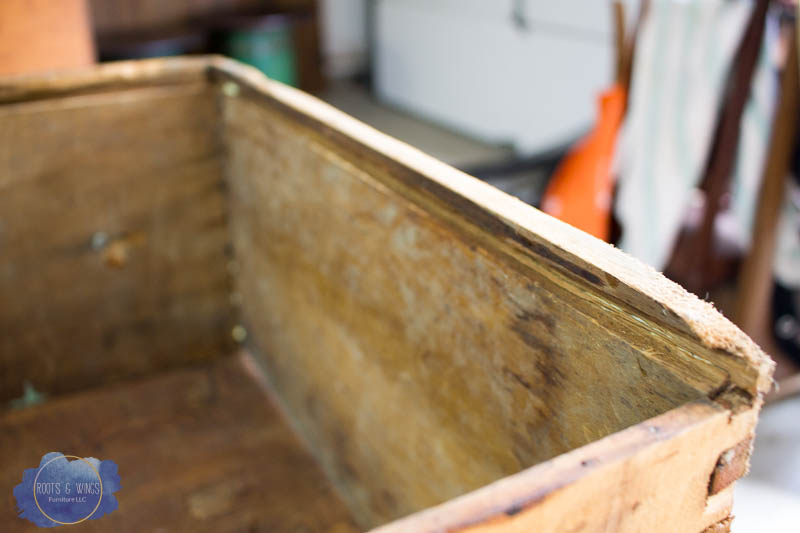
Step 1. Remove the existing drawer bottom (if there is one). Remove any extra nails, staples, splinters of wood etc. You should be left with a nice groove where the new bottom will fit.
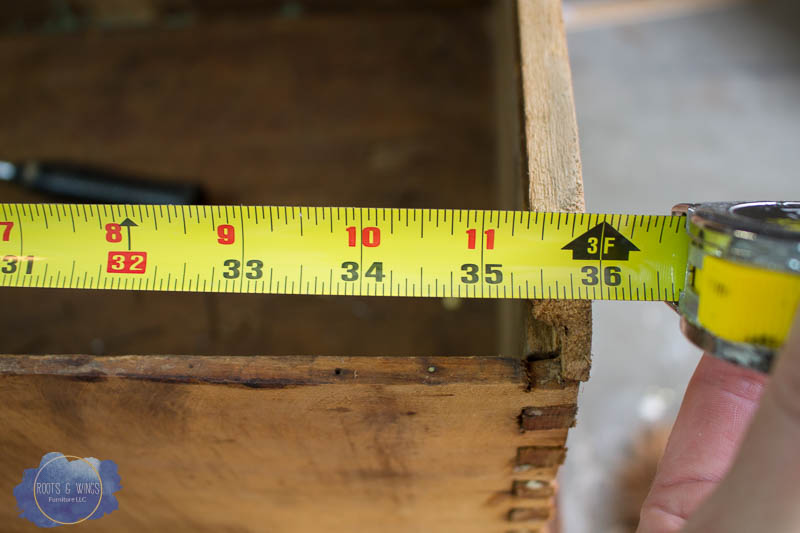
Step 2. Measure. Measure from the middle of the grooves. Make sure here your drawers are square (or as square as possible for an old drawer) as you measure.
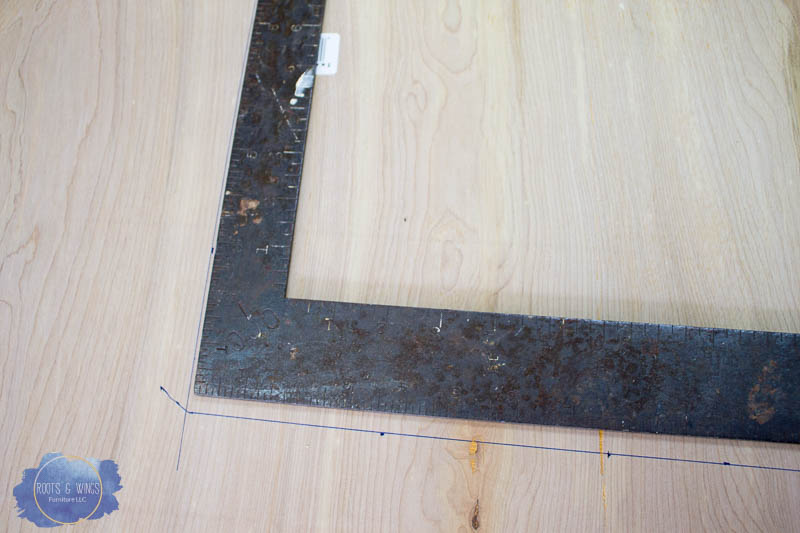
Step 3. Buy new material. I use 1/4″ thick luan plywood/underlayment. It’s thin, lightweight and easy to work with. Mark the wood (use a square to keep your lines nice and straight) and cut. I used a circular saw, you could use a table saw if you have one (or if you are sure of your measurements, have the hardware store cut it for you).
Step 4: Slide your new drawer base in place. On a piece as old as this one it took a little wiggling to get it in there just right. It should shore up any un-evenness in the drawer though and make it much more sturdy and square.
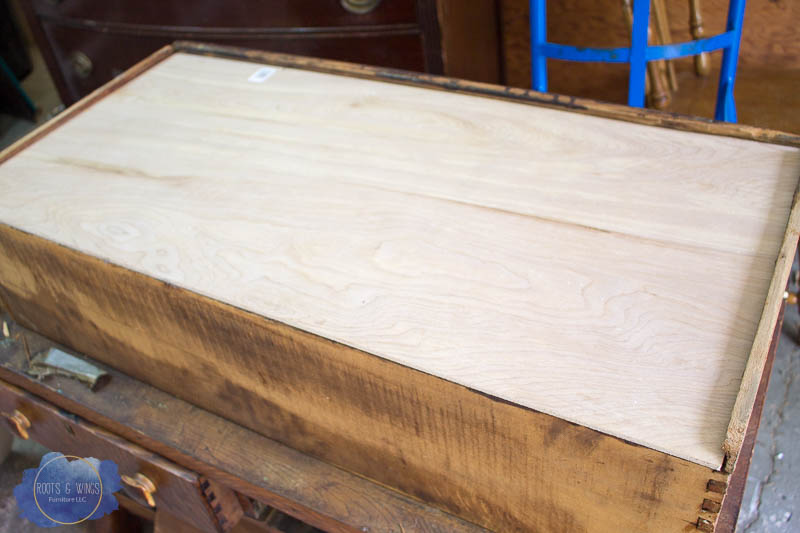
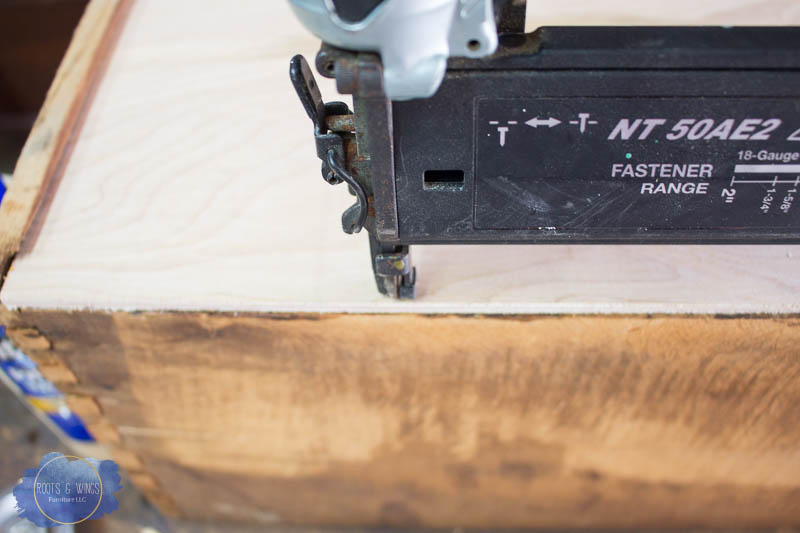
Step 5. Using my nail gun I tacked the board down with some 1″ brad nails. This will keep the piece of wood from sliding around and gives more support to the drawer overall.
Step 6: Repeat as necessary for each drawer! Feel accomplished. Now you can get to the fun part of painting the piece!!
I’m not quite finished making this piece beautiful yet, so you’ll have to stay tuned to see what I did with it. At least I know the drawers are working and much more functional than they used to be!!
Now you no longer have to pass up that beautiful piece because of the wonky drawers.
More drawer repair tips coming your way!

Until next time,
Jenni

