Hello friends!
I have a fun project for you today, that comes with a bit of history. It doesn’t start as much, but the end result is something I am completely in love with!
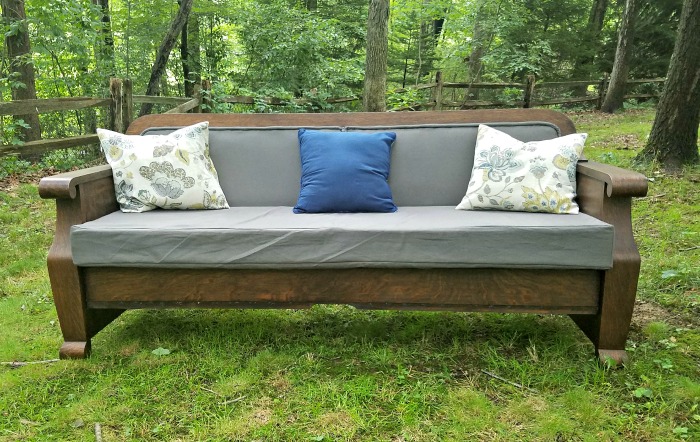
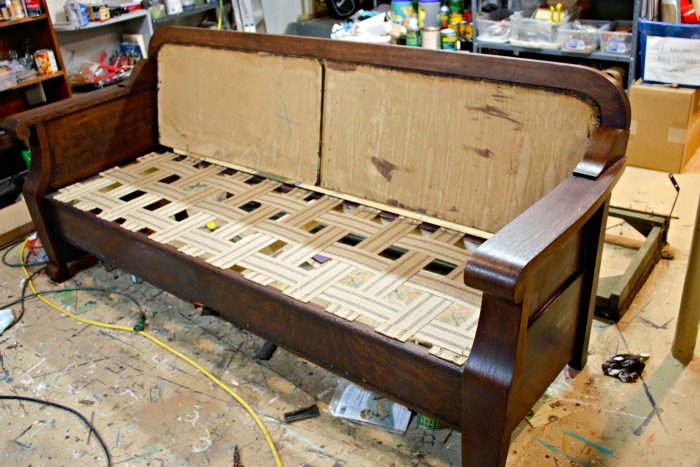
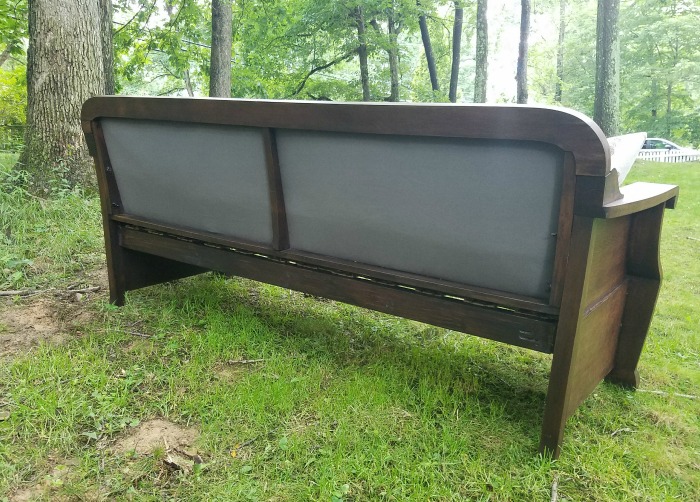
A sweet client contacted me recently about re-doing this antique couch. She said she grabbed it on Craigslist, and although intending to do it herself, it sat on their porch for a few years. She was finally ready to have it redone, so it came to me!
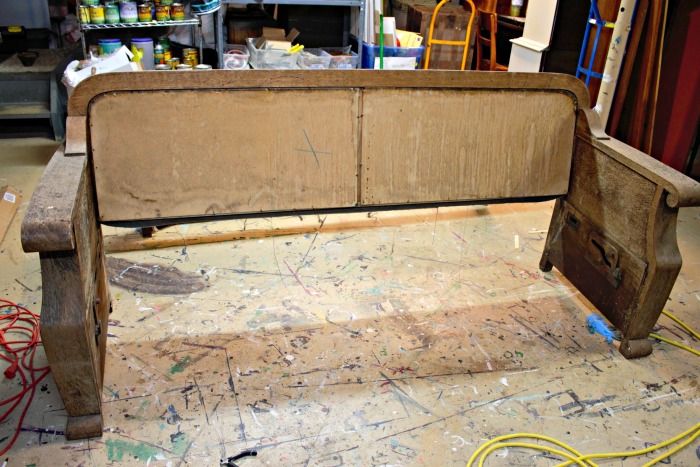
To be honest, it was in rough shape, the base was a separate unattached piece, and the weather had taken it’s toll on the wood, but we made a plan and dived in.
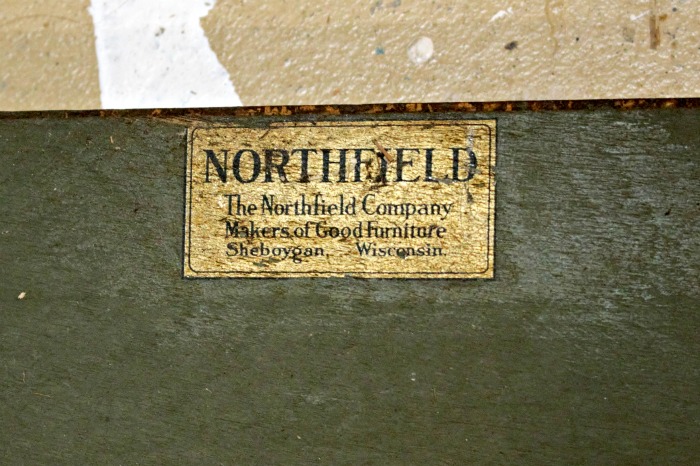
While I was re-building, I found this tag (here’s the history): The Northfield Company, “makers of good furniture” – don’t you love that tag line?
They were a furniture company in the 1920’s who were known for what is called the Bed Davenport. It was one of the first (the first??) versions of a pull out couch. I couldn’t find this exact style in the old advertisements, but I bet it was made in the 30’s based on the empire style. I love a good bit of history, don’t you?
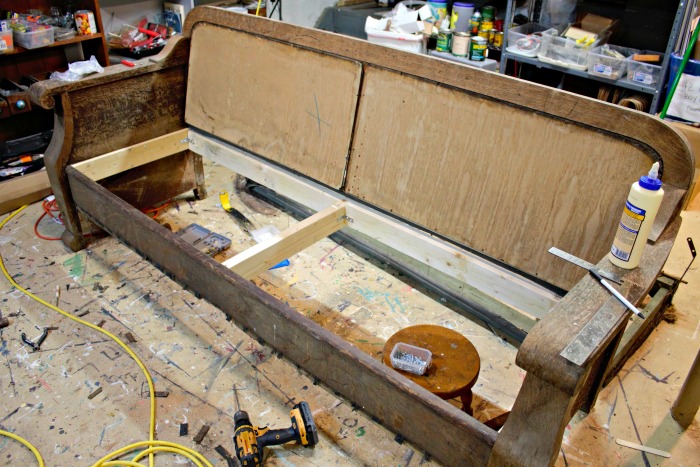
On to the makeover, so the base (part of the old bed) was detached, and I had to rebuild a fixed base. I used the front piece of original wood, and added some supports with pine.
This post contains a few affiliate links to help you find the products I use. Any affiliate income goes to support more fun blog projects! For my full disclosure policy, see here.
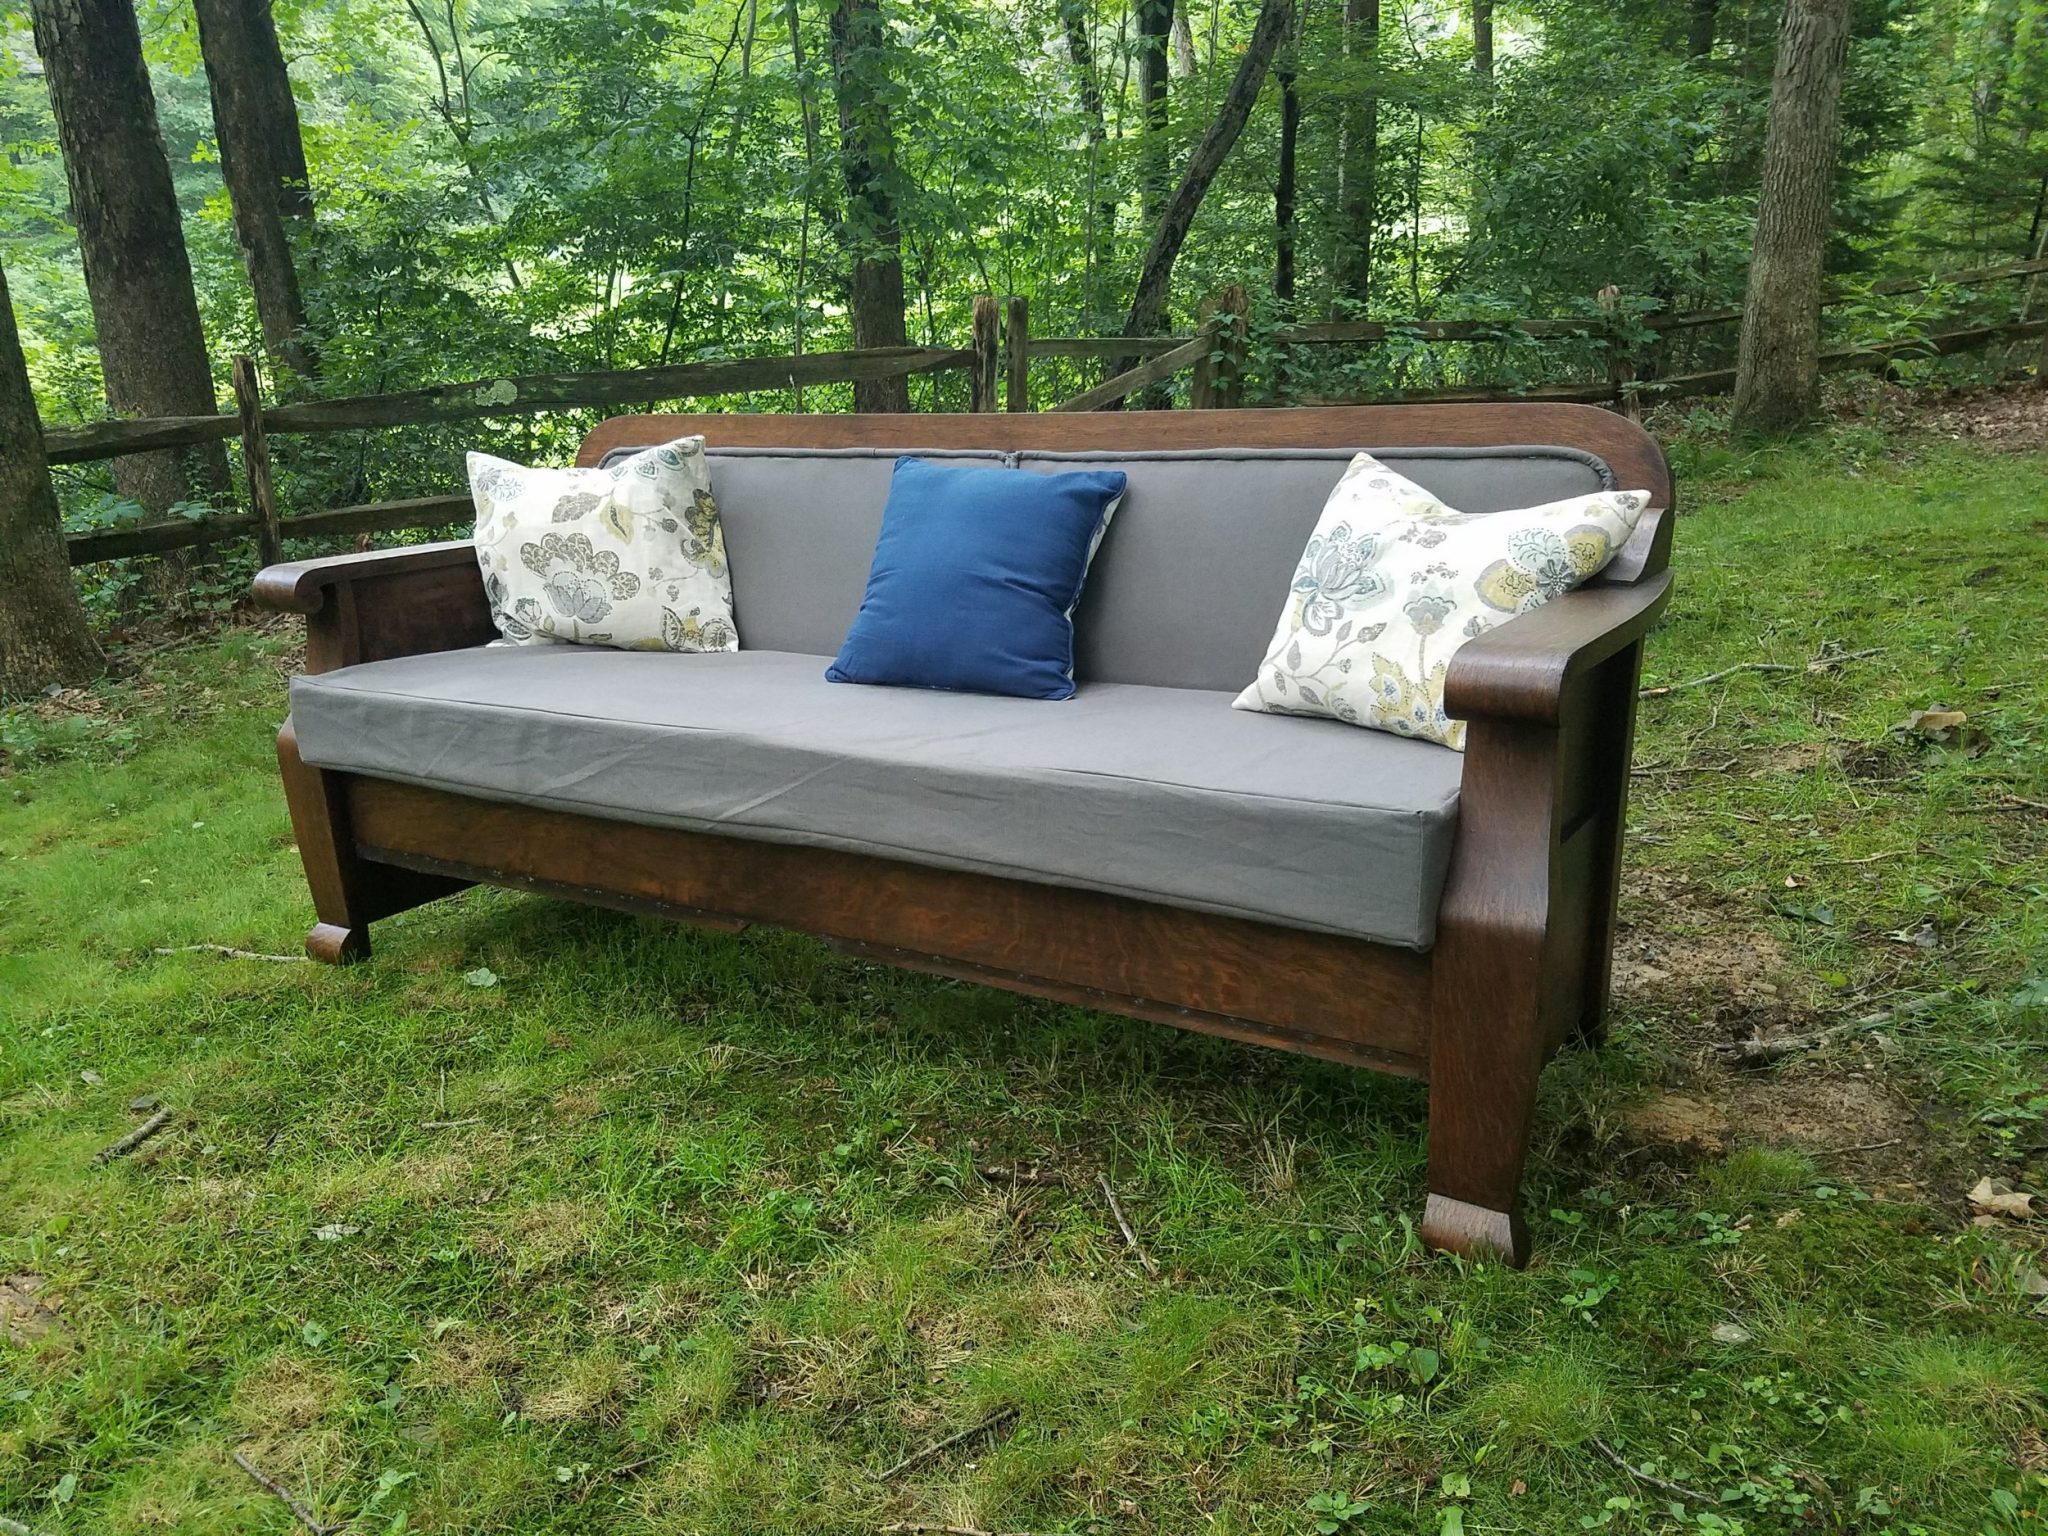
Once the base was built, I sanded the piece down and stained it. I use a custom mix of Antique Oak and Espresso Stain, and I love the color that was achieved while still allowing the beautiful grain to come through. I sealed it with High Performance Flat.
When the staining was finished, I moved on to the webbing. This creates a sturdy and comfortable base for the cushion. I used this jute webbing, which you weave to create a base. But the trick is, you have to stretch it to keep it tight, here’s a little video of that process:
Once it’s all stretched, you weave it back through the other direction until you have a strong, sturdy seat! Then to the upholstery…
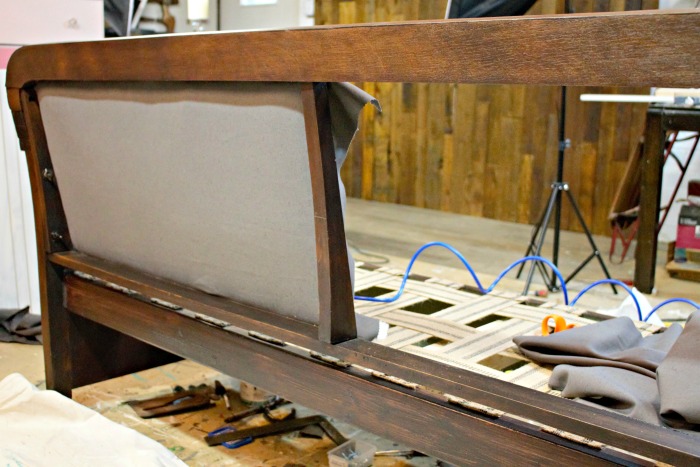
You basically work backwards from how you take it off. Luckily all the fabric was removed on this piece, but you start with the back and work forward, using about 1,987,739,293 staples in the process. We chose this gorgeous gray fabric that looks amazing against the wood stain!
I used one layer of batting on the back, and about 3 on the front.
To finish it all off, I hot-glued welting along the edges. My faithful assistant sewed a cushion for the seat, and we have a new (old) couch!
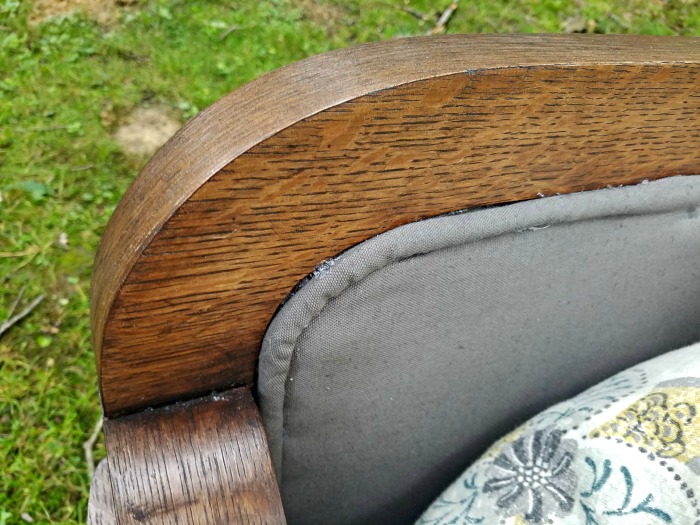
I love some of the imperfections that still show through. You can tell this is an old piece, and has had lots of history.
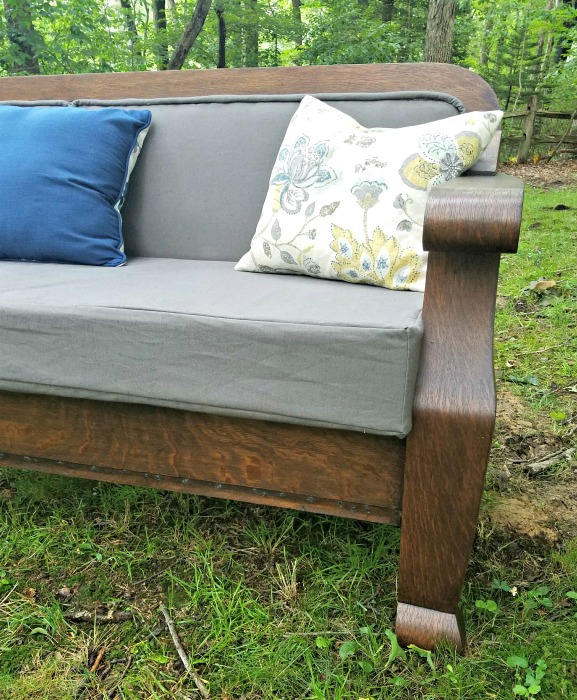
It’s now a comfortable couch that will last this family for years to come.
Until next time,
Jenni


This is so cool! I’m trying to repair a broken couch that seems to have been entirely supported by three tightly-stretched straps (it’s just a cheap thing from Urban Outfitters). Do you think it’s necessary to have a pneumatic staple gun or will a regular (non-electric) one work?
Hi Kelly!
A hand held staple gun will work just fine! If you start to do many upholstery projects, a pneumatic one is worth getting, but if it’s just every once and a while no need!